Anycubic i3 Mega S Cura installation
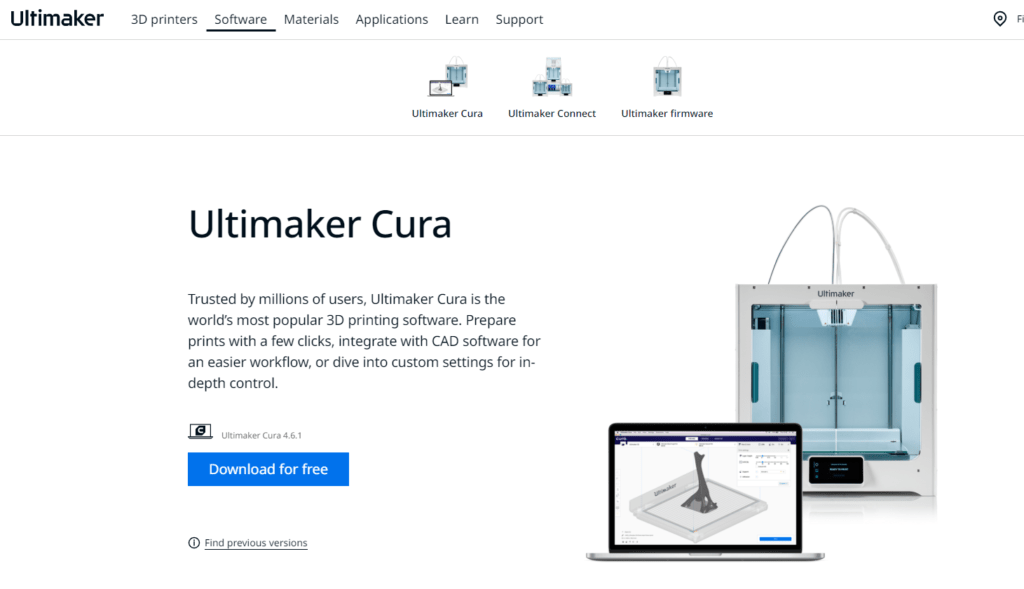
Download the latest Cura
Anycubic delivers SD card with the printer which contains test files, manuals and Cura but with in an older version.
I highly recommend downloading the latest Cura from Ultimaker page.
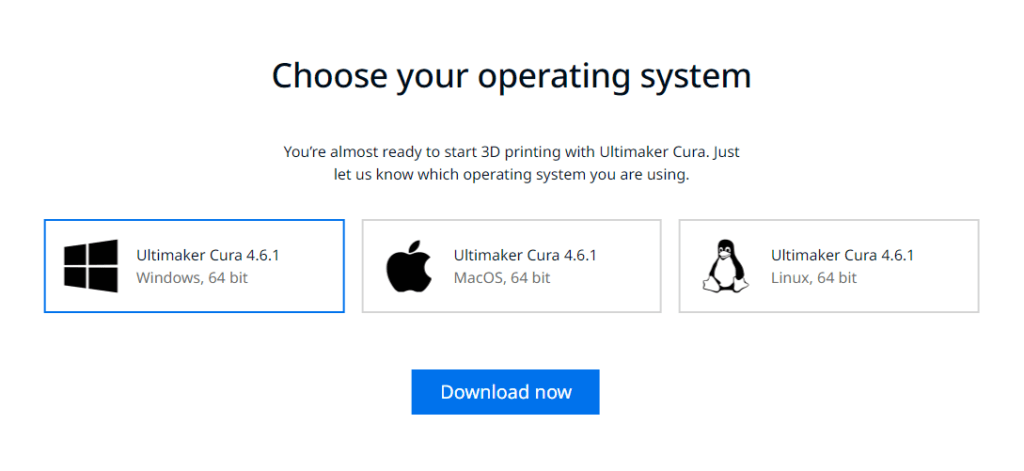
Choose your operating system and download the Cura.
Install Cura
After the download completes, install Cura in your computer.
If you use Windows, it is possible that the Firewall will ask you for permision, so grant it.
Set up Mega S printer
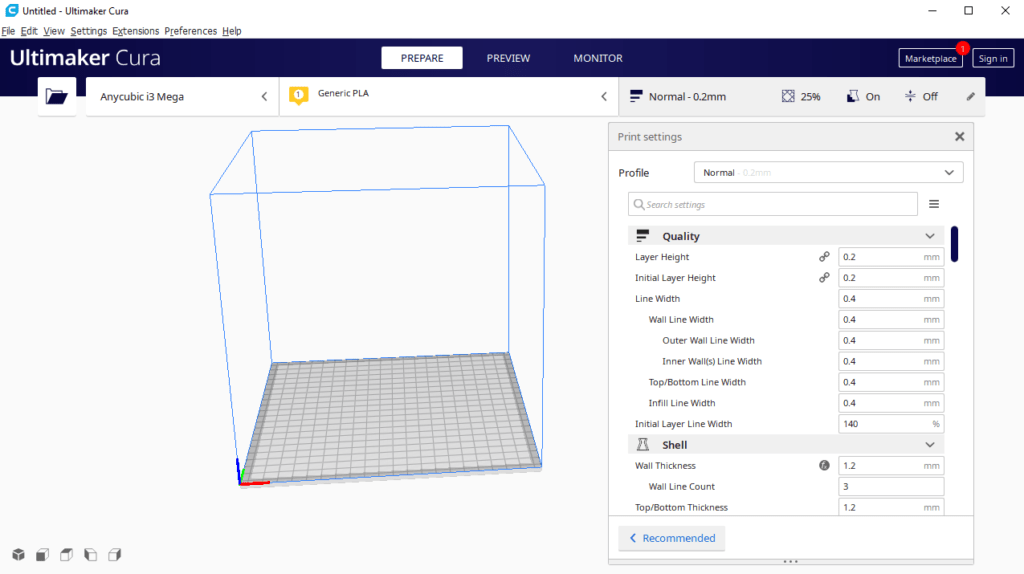
It is possible that you will see a “First time run wizard”, but I already use Cura so I will add the printer manually without the wizard.
The steps are +- the same, the goal is to choose the correct printer and check settings.
Navigate to Settings – Printer
And click on Add Printer…
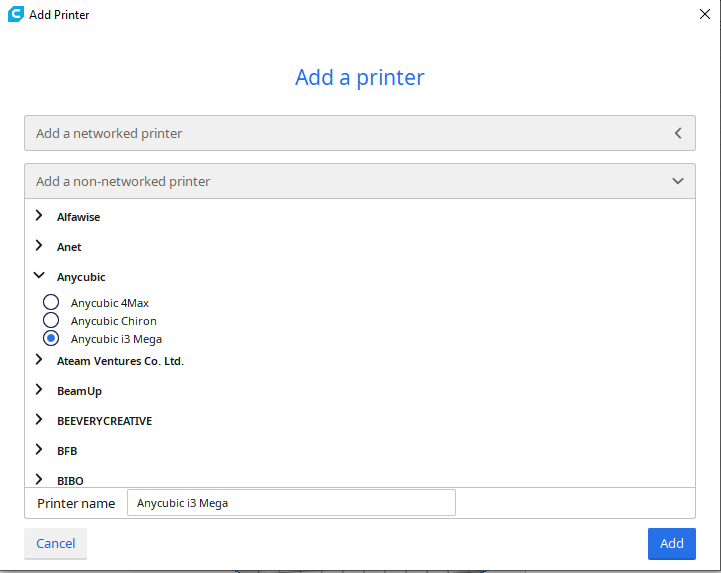
Mega S does not have any network interface, so we will add a non-networked printer.
Click on Add a non-networked printer.
Find Anycubic “folder” and click on Anycumic i3 Mega.
You can also rename your printer if you want to.
Verify printer settings
Now is the time to check and verify all printer settings.
Navigate to Settings – Printer – Manage Printers and locate your Mega printer.
Click on Machine Settings.
Now check settings one by one.
On the left side are basic settings such as X, Y, Z printable dimensions, shape of the bed, heated bed yes/no…
On the right side are informations about the printhead such as dimensions.
Start G-code is a list of commands that printer performs after you click on print file
End G-code commands are executed after the model is printer.
Close the settings
