Mellow Flyboard FLYF407ZG Klipper Guide
1. Why should I choose this board?
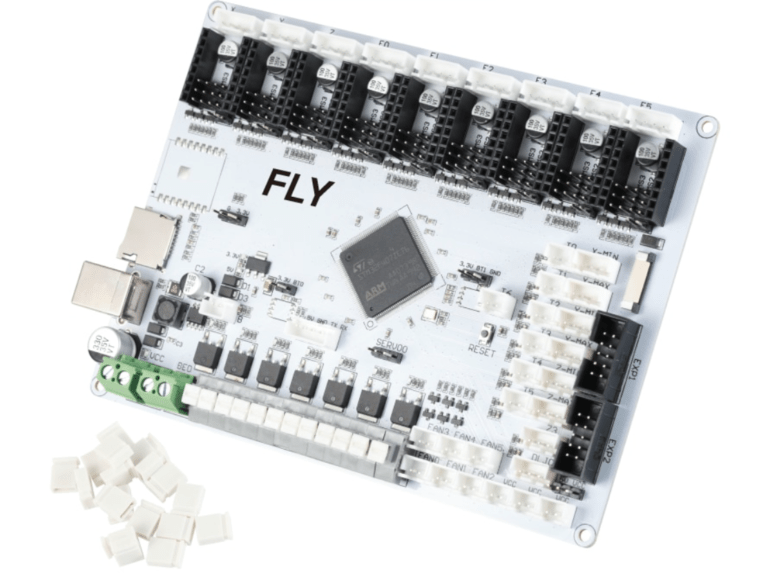
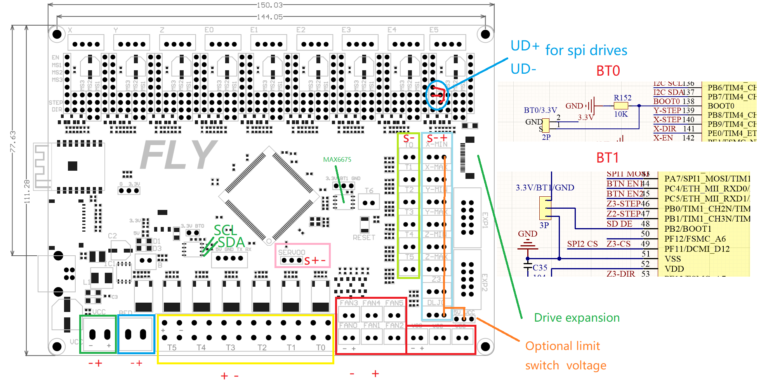
This Mellow 9 independent motor motherboard is suitable for anyone using high number of stepper motors or sensors. I have chosen this board for my LP Delta project, which is also my Bachelor’s thesis and hopefully a Master’s thesis.
For example: I need so many PWM outputs so I can use many independent fans and so many termistor inputs to measure hotend, bed, environment, drivers and motors temperature
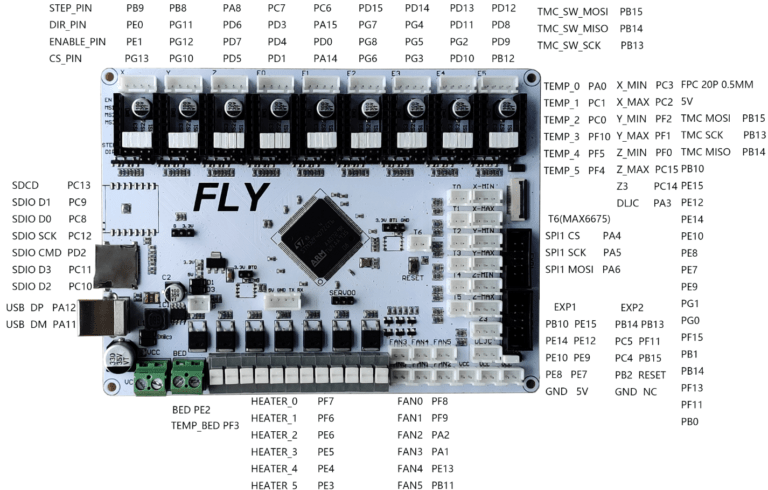
It is also possible to expand this board via external drive interface, EXP1 and EXP2 connectors
1.1. I have chosen this board for the number of input an output ports
7 PWM controlled high power outputs
6 PWM controlled fan outputs
7 Thermistor inputs
9 Driver slots with SPI/UART/Standalone modes
BL Touch port
Servo port
Wi-Fi option
2. Wiring
3. Web interface installation
3.1. Prepare your Raspberry
Choose what Interface you want to Install and complete one of these installation guides.
4. Prepare FW to flash Flyboard
4.1. IP address localization
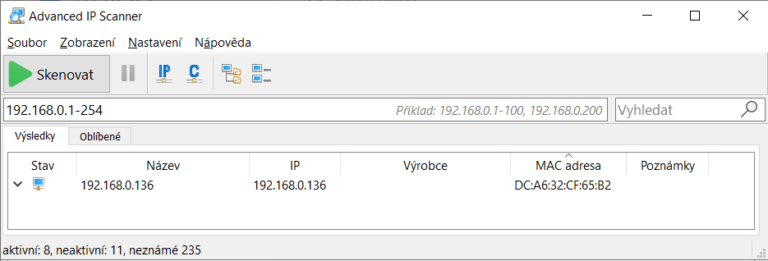
Start with locating Raspberry in your local network.
I highly recommend installing Advanced IP Scanner CLICK HERE.
Default IP range is usually 192.168.0.1-254 or 192.168.1.1-254.
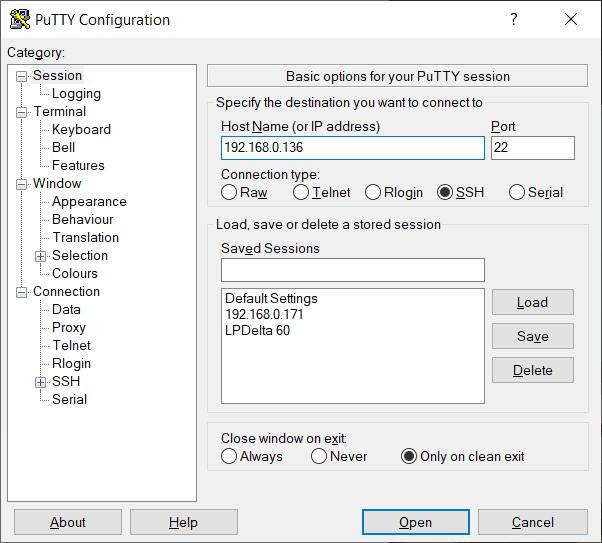
Locate the Raspberry’s IP address and copy it.
5. Prepare FW to flash Flyboard
5.1. Install SFTP client
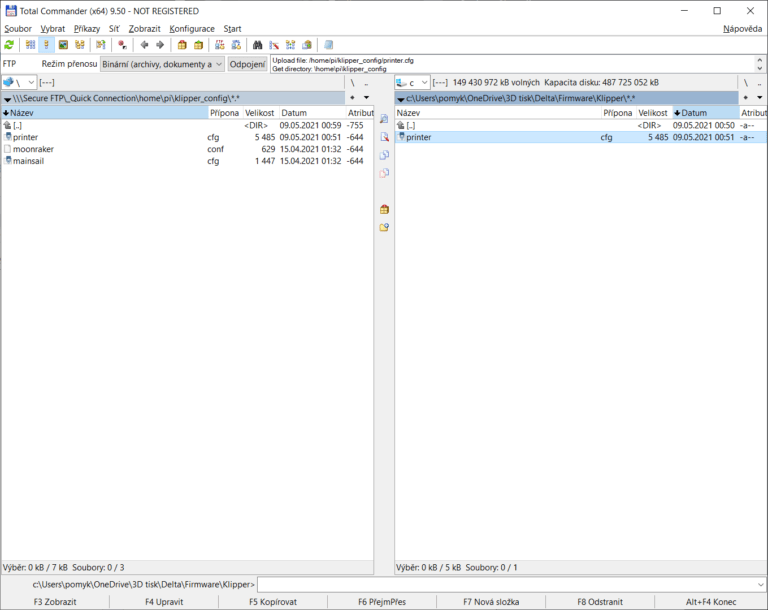
Read and finish this guide below to be able to use SFTP to copy files to Raspberry.
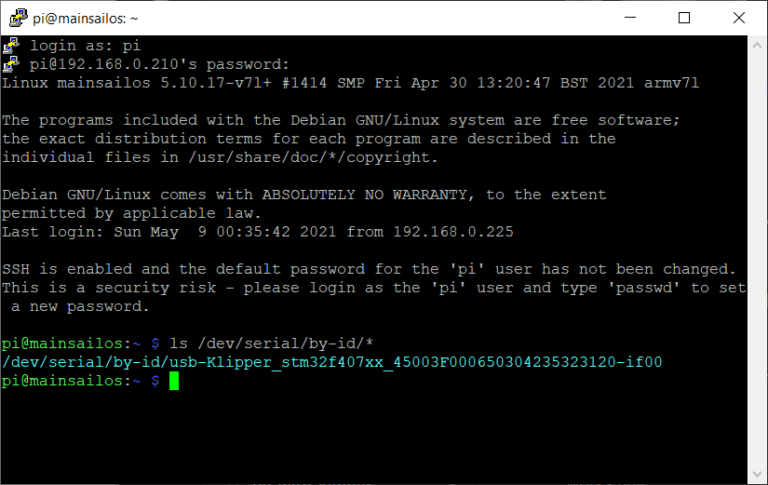
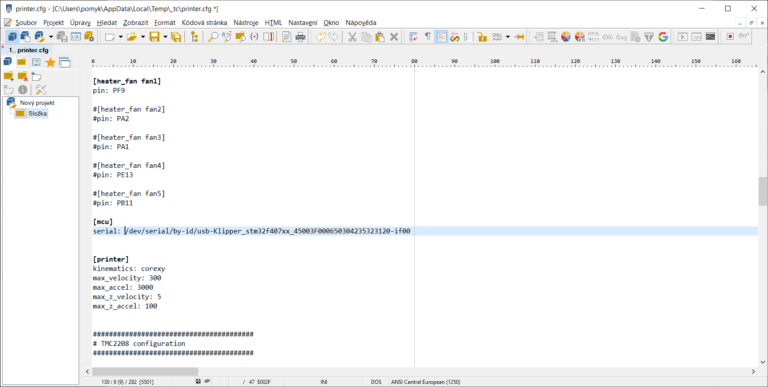
6. Find out and apply device ID
6.1. Download example configuration file
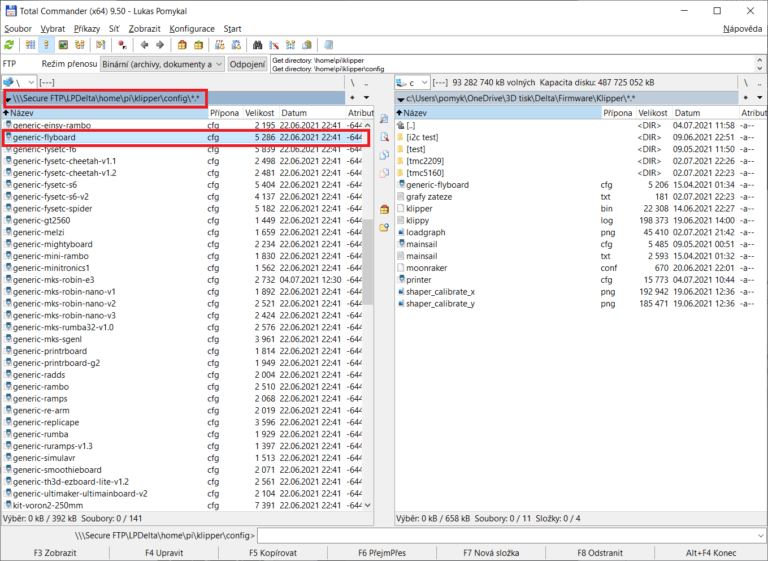
You can download generic-flyboard.cfg from official Klipper GitHub repository.
Or use the generic-flyboard.cfg file that is already on your Raspberry after the Klipper installation.
7. Configure printer.cfg to your needs
Now is the time to configure your printer.cfg configuration file to your needs.


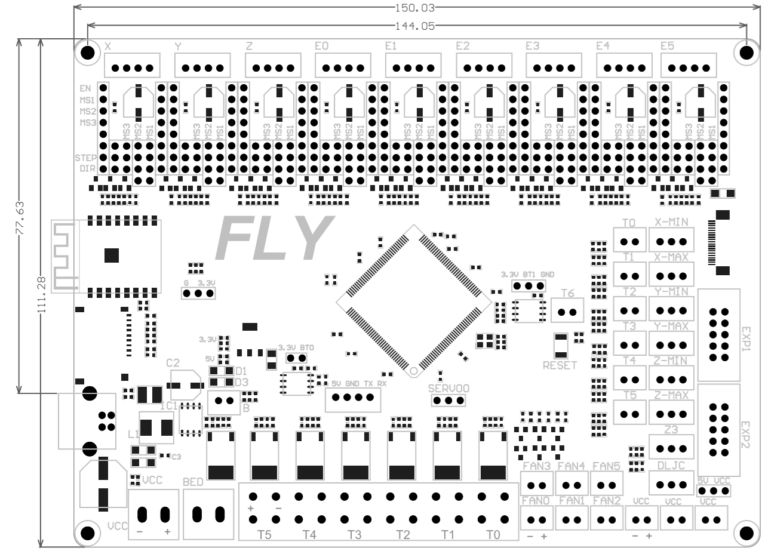




Hi, do you have schematic of this board FLYF407ZG? Would you mind to share it with me?
I’m working in a project for a robot and I need the schematic, but I’m not finding it.
Thanks in advance.