Anycubic Kossel Delta Calibration (Marlin FW)
Correct Kossel calibration is crucial for succesful 3D printing.
Printed parts tend to bend or even do not stick to the build plate without it.
More about this Marlin G33 command:
https://marlinfw.org/docs/gcode/G033.html
1. Check if your FW uses calibration
A common mistake of those who have modified their Marlin configuration files is not defining this part:

If you use my Marlin, it has this feature defined, so there is no problem.
But if you are not sure, there is also another solution:
Placing M420 S1 after G28 in start G code in your slicer
2. Autoleveling using Z probe
2.1.1 Prepare your Z probe
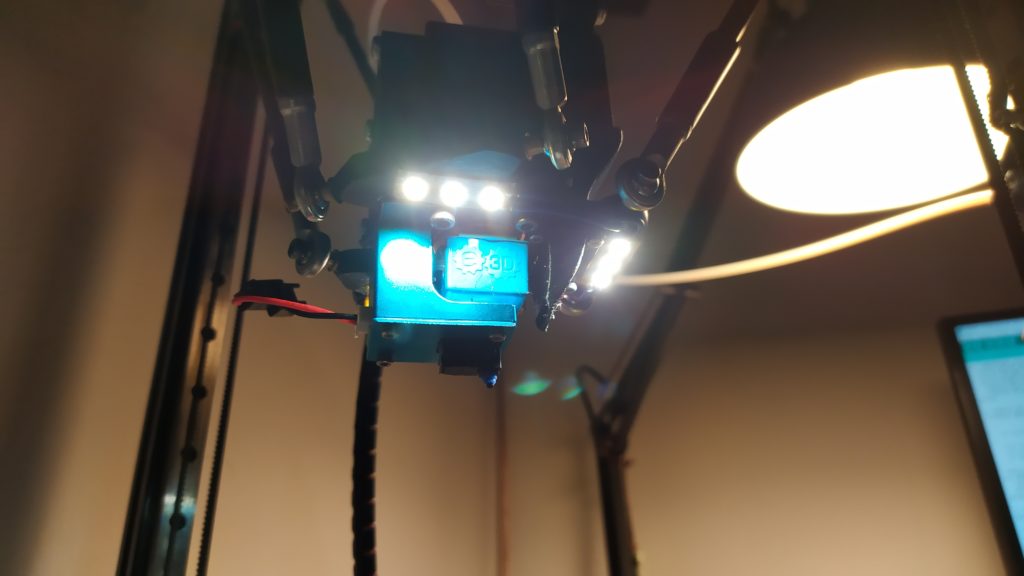
Attach Z probe and make sure the connector is plugged in correctly
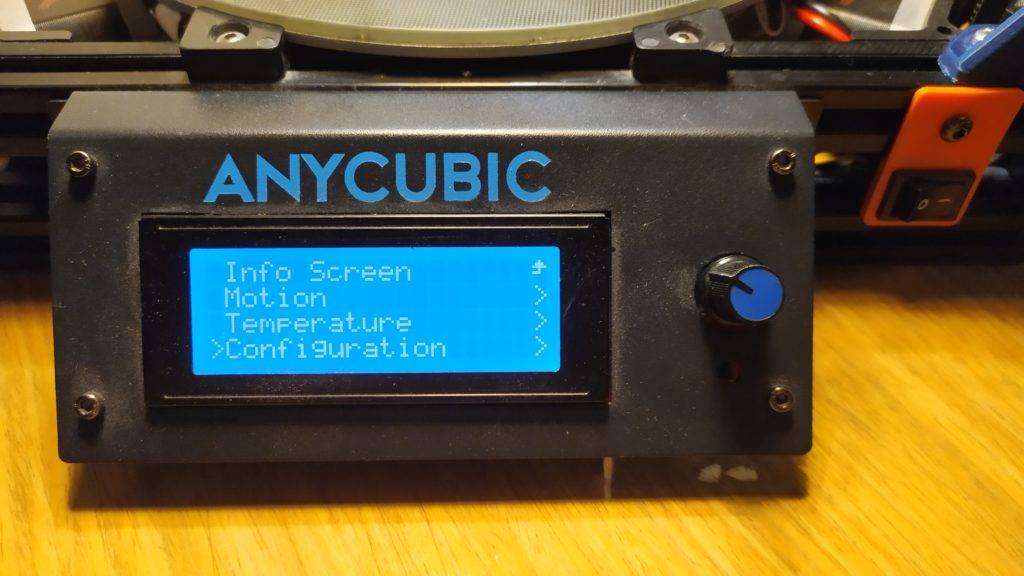
2.1.2. Go to the menu and navigate to Configuration, click
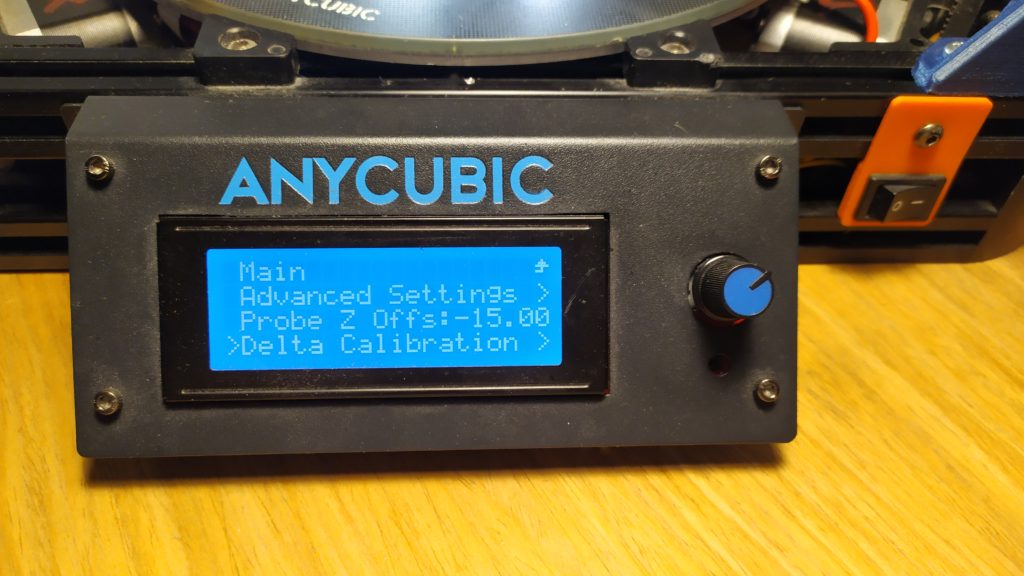
2.1.3. Navigate to Delta Calibration, click
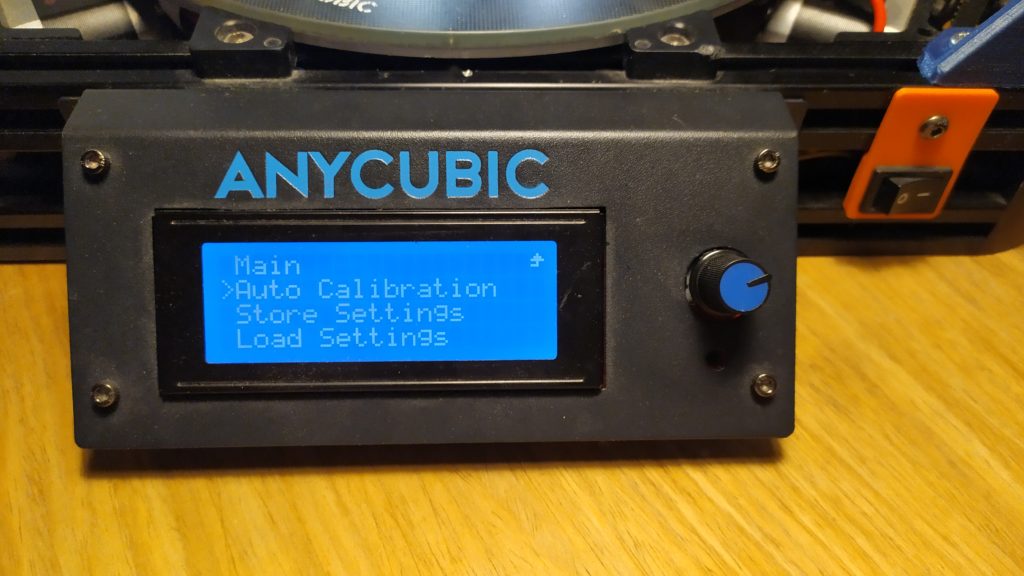
2.1.4. Click on Auto Calibration
2.1.5. Confirm leveling after autohome – click with the button
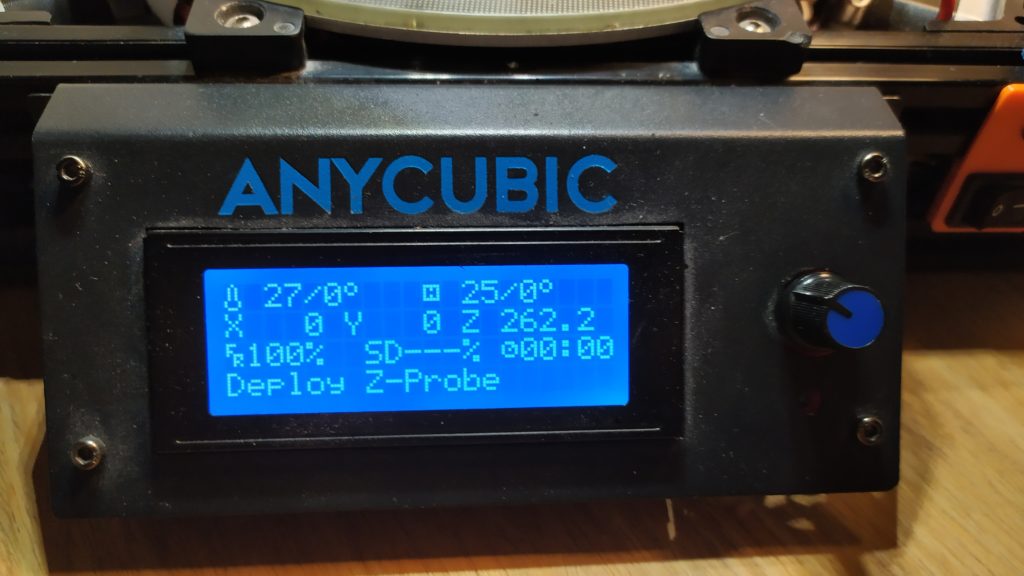
2.1.6. Make a tea and wait a few minutes
2.1.7. Stow Z Probe after leveling and confirm with a click
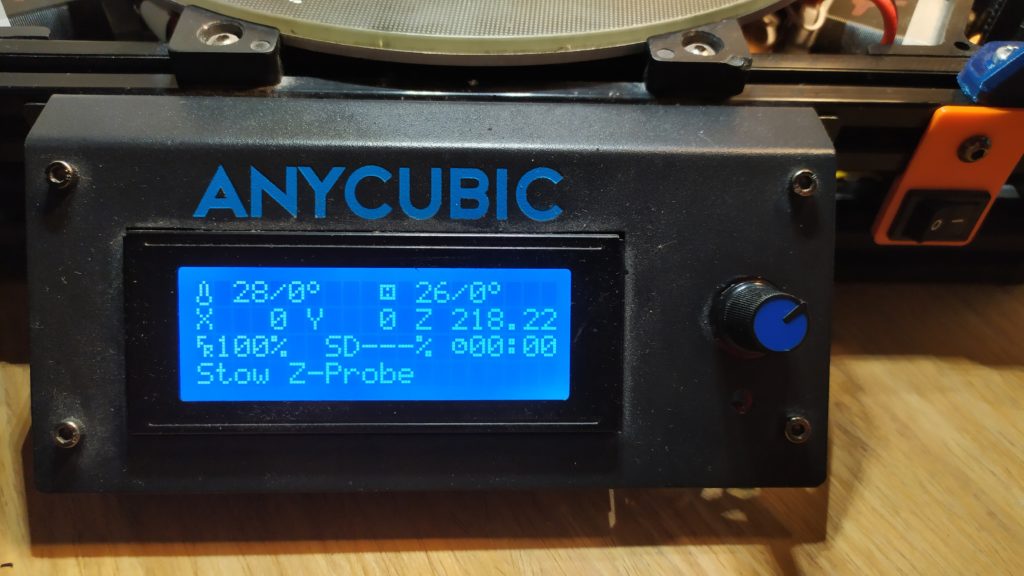
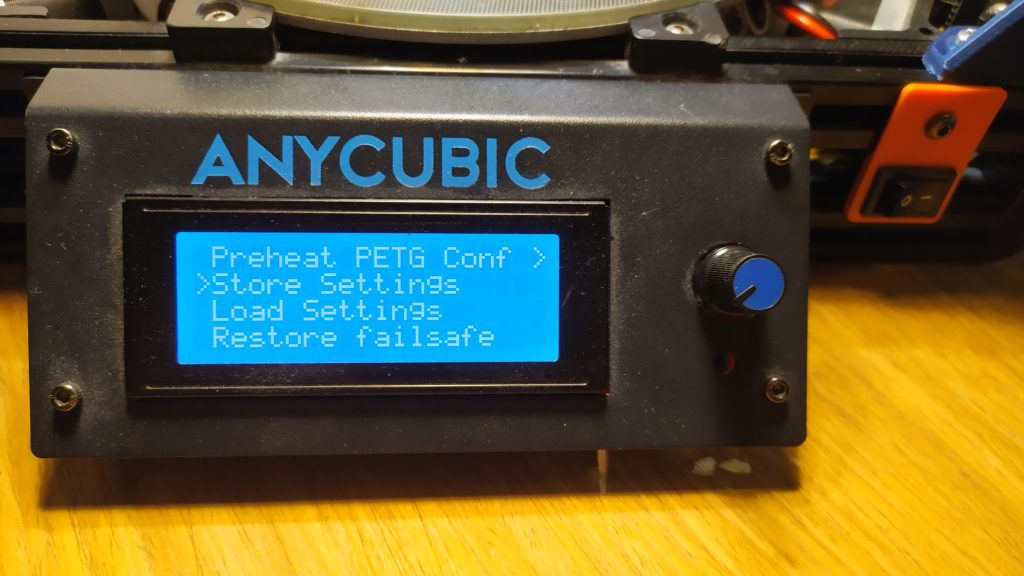
2.1.8. Store settings, better do it a few times just to be sure
2.2. Z height calibration
In my Marlin 2.0 configuration Z probe height is set to 15.0 mm.
Each Kossel setup has a slightly different distance between the tip of the nozzle and the probe.
Without these steps the calibration would be useless.
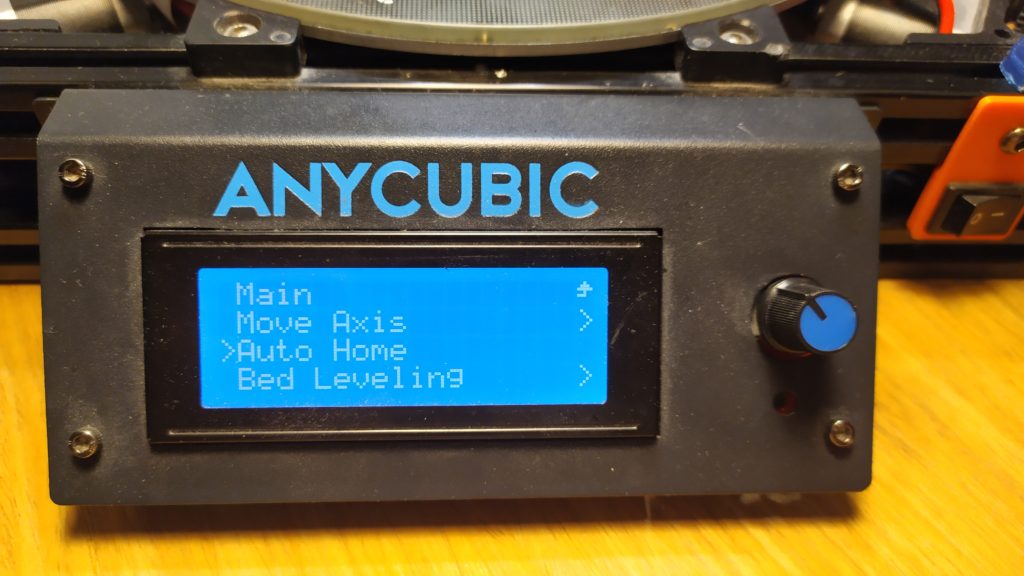
2.2.1. Go to Menu – Auto Home
2.2.2. Go to Motion
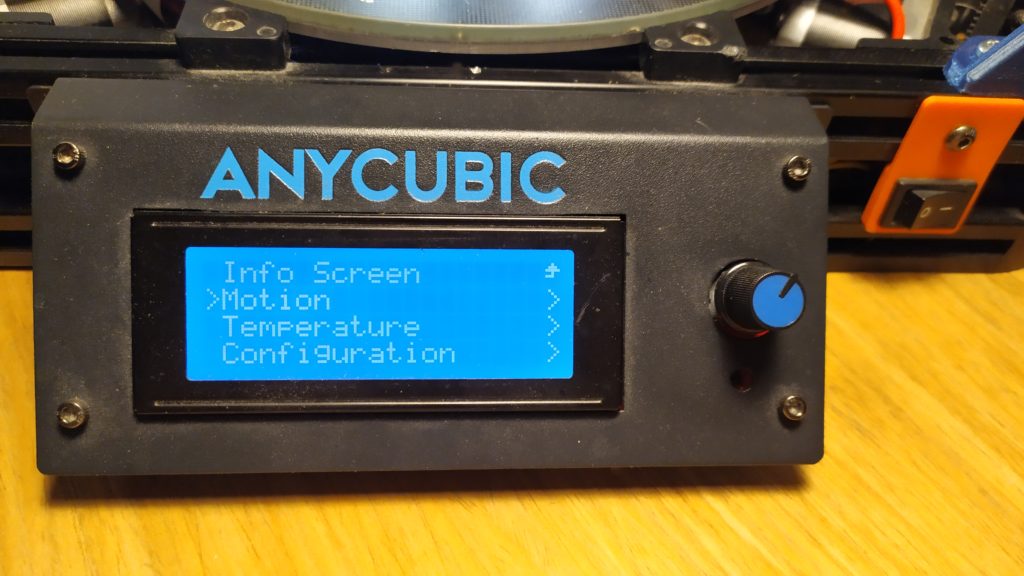
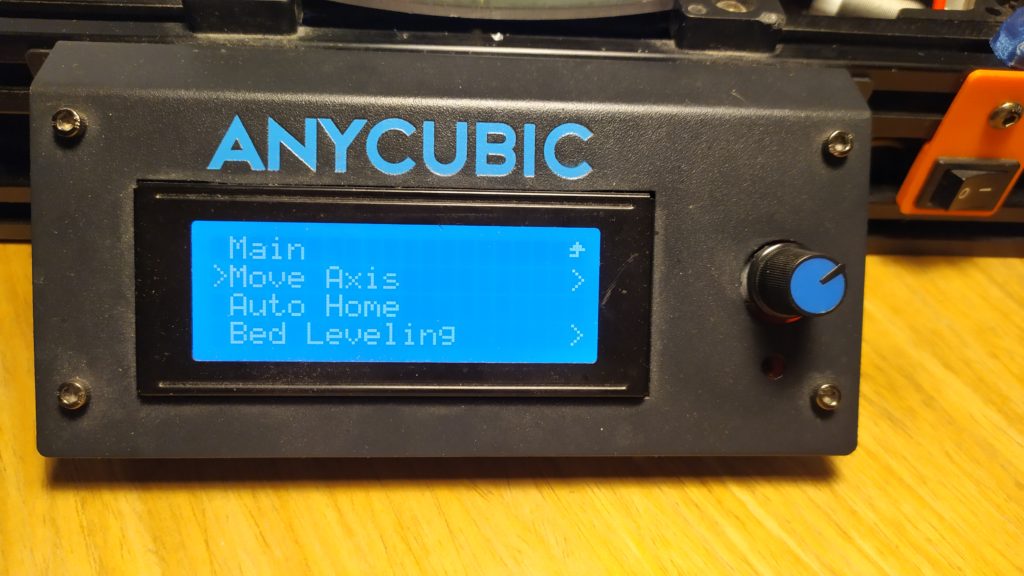
2.2.3. Go to Move Axis
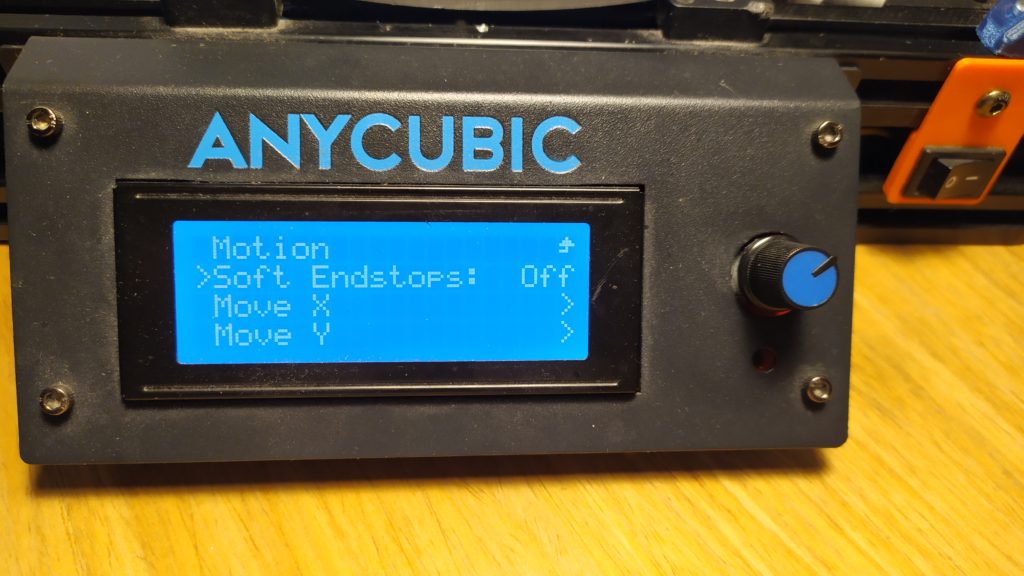
2.2.4. Set Soft Endstops to Off
You have to send it to off so you can move your extruder head to negative distance.
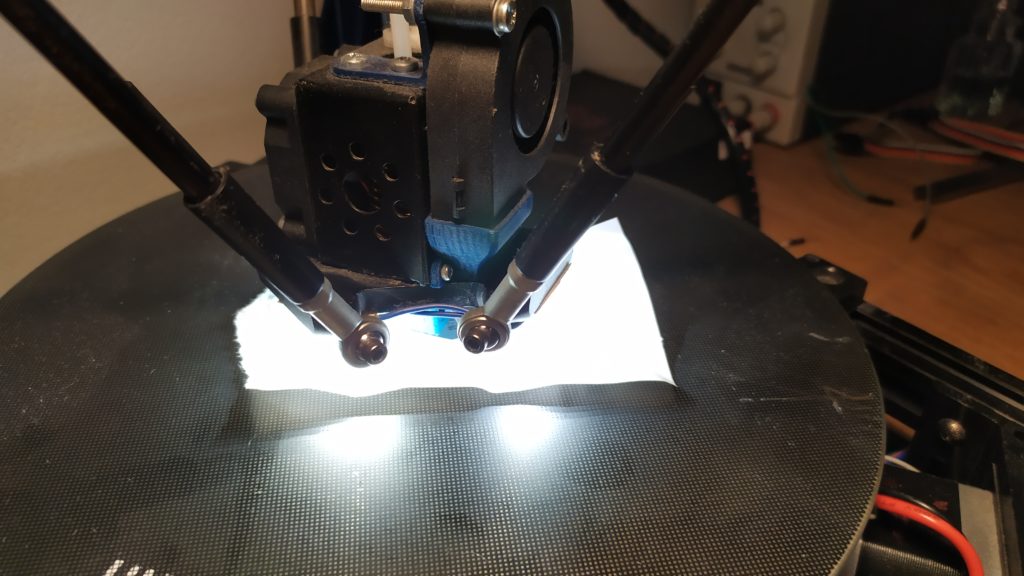
2.2.5. Put a piece of under under the nozzle
2.2.6. Go to Move Z
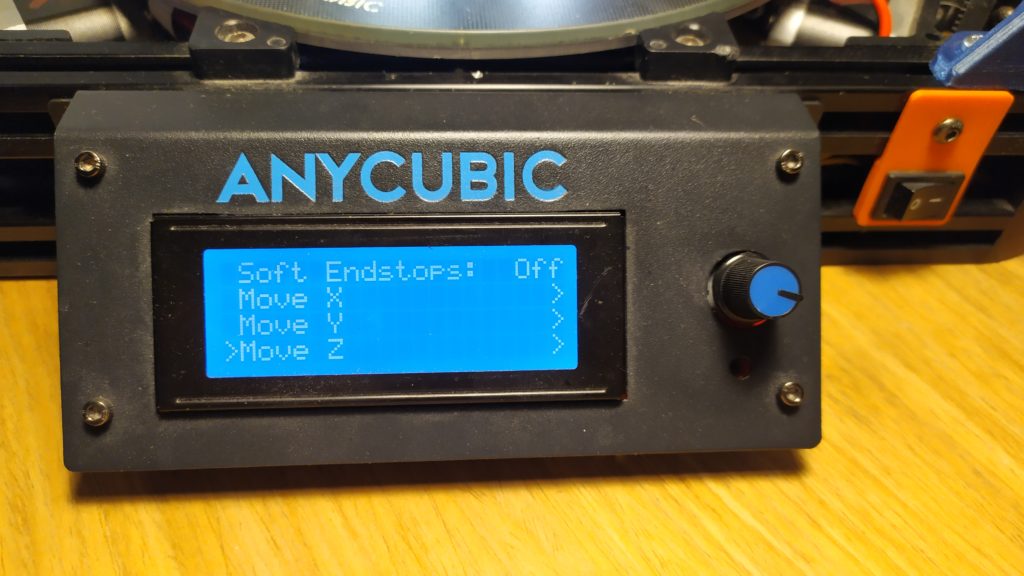
2.2.7. Move the nozzle until it touches the paper
The safest way is:
1) Use Move Z 10 mm – move it the closest you can to 002.0 mm, not less!
2) Use Move Z 1 mm – move it to something like 002.0 mm, not less!
3) Use Move Z 0.1 mm – slowly move z position step by step until the nozzle touches the paper and there is a friction between the nozzle, paper and bed.
4) Write down the number you see on LCD, you will use need it later
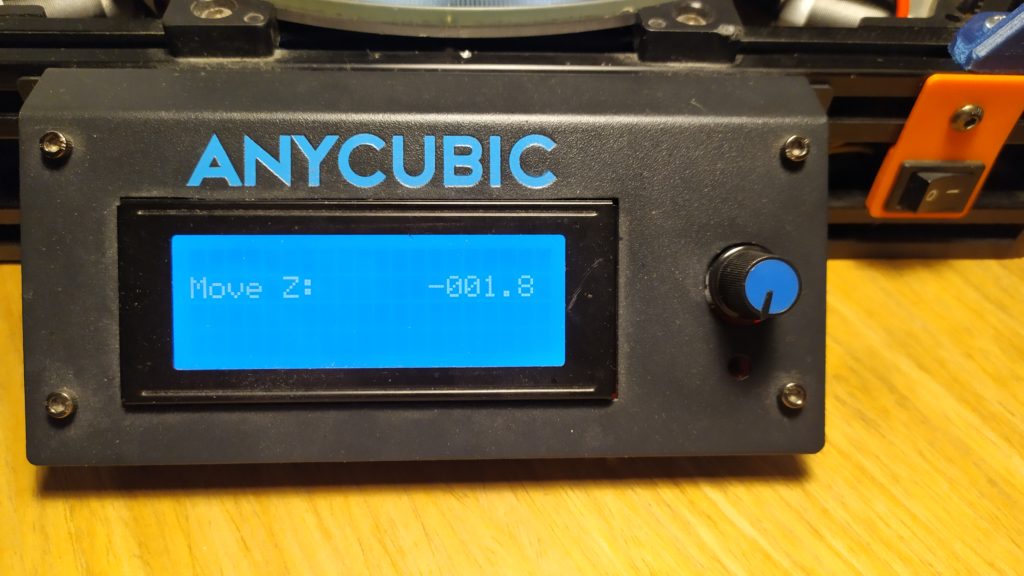
2.3. Height adjusting
2.3.1. Check the actual height
Navigate to: Menu -> Configuration -> Delta settings -> Height
You can see that the actual height after autoleveling is 275.15 mm
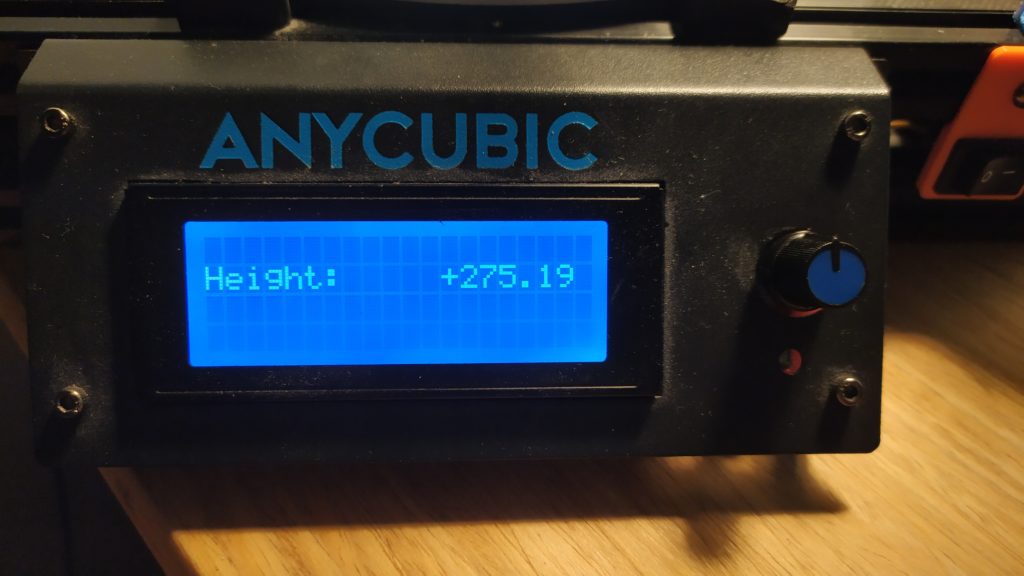
2.3.2. Calculate the new height
Height after autoleveling has been set to 275.19 mm and we have measured (step 2.2.7.) that Z offset is -1.8 mm which means that we have to add 1.8 mm to the height: 275.19 + 1.8 = 276.99 mm
2.3.3. Set the new height
Start turning the knob until you see the calculated height, confirm by click
2.3.4. Store settings
Click on Store Settings a few times
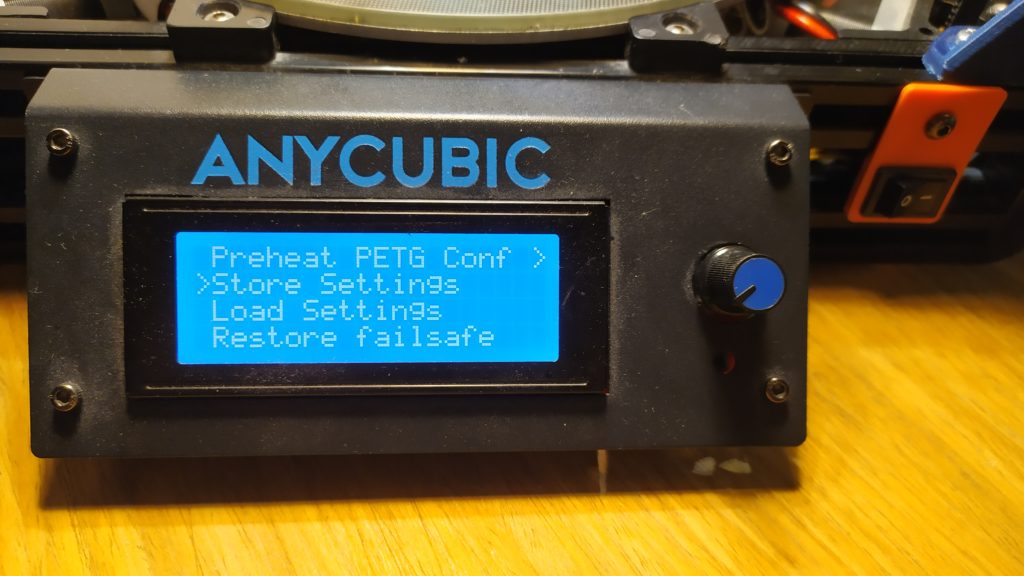
2.3.5. Test the configuration
1) Turn off the printer and wait 10 seconds
2) Turn on the printer
3) Navigate to Menu – click on Autohome
4) Perform the steps from 2.2.7. with a paper under the nozzle
5) If you need to adjust the height, go again through the 2.3. steps
2.3.6. Print something to test your settings
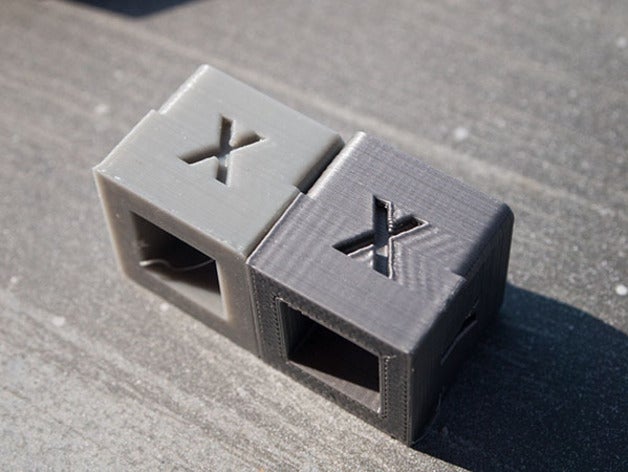
The best way to make sure you have measured and calibrated the height correctly is to print something.
You can choose some standard testing cubes, ripple test or a delta calibration pattern which covers almost the entire printable bed area.
If you still have any bed leveling issues, perform the leveling again.
2.4. Change Z probe offset
You do not have to do do this, but it will be much easier to calibrate the printer next time – you can skip all 2.3. steps
2.4.1. Calculate new offset
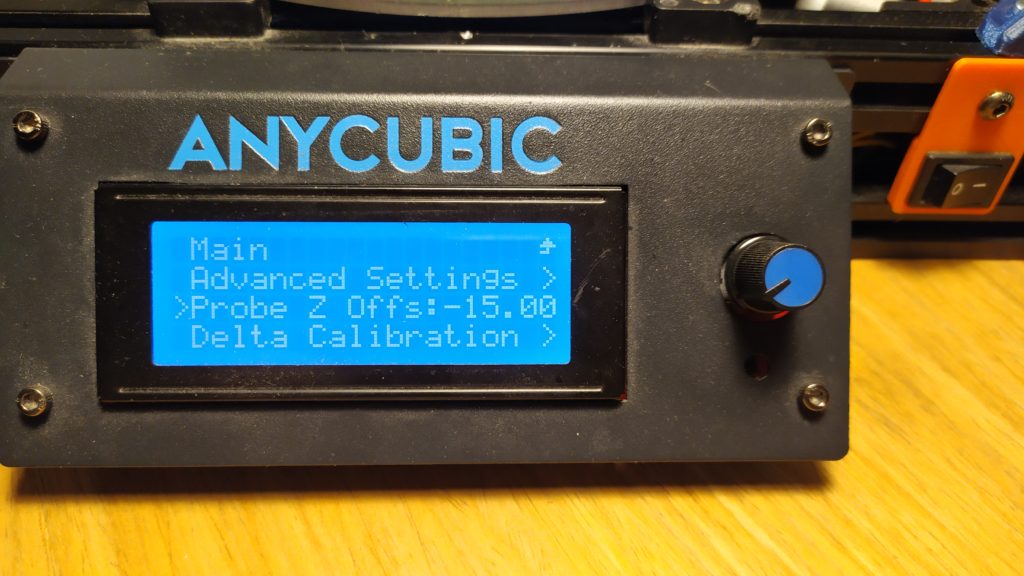
Go to Menu -> Configuration – Probe Z Offs and check the current offset
In previous step we have measured that the height difference is – 1.8 mm
The new offset will be – 15.00 + (-1.8 mm) = – 16.8 mm
2.4.2. Change the Offset
Change offset to the calculated new one, of example – 16.8 mm and confirm
2.4.3. Store settings
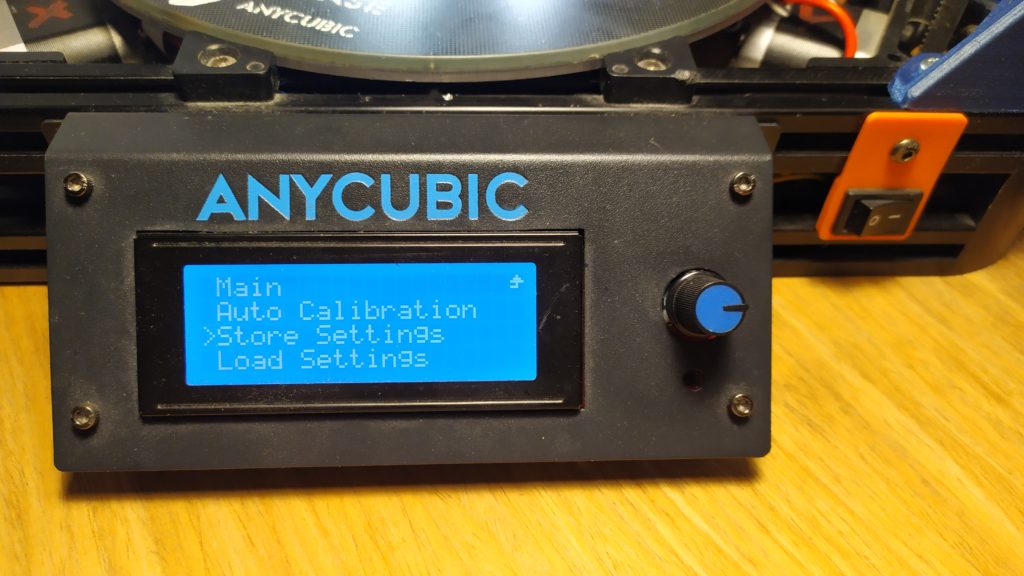
You must store setting as always.
2.5. Print something
I fell in love with this Ripple test.
It works better then the standard calibration cube and you can spot your printer’s issues more clearly.


Dobrý den, mohl bych poprosit o radu jak řešíte přesnost ?
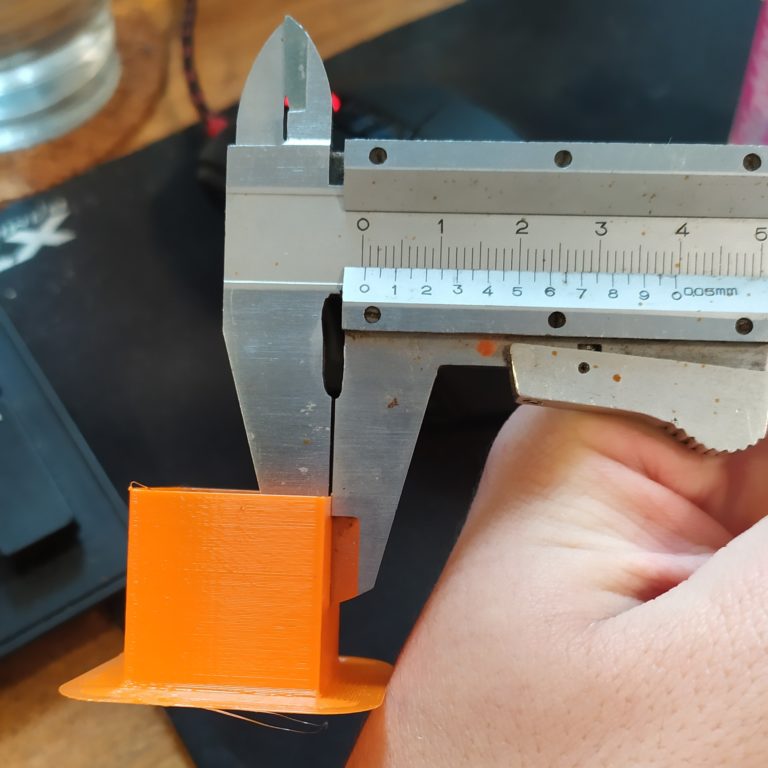
Pokud vytisknu kostku 15*15*15 tak Z je 15 ale X je 14,9 a Y je 15.25.
Zkoušel sem to klasicky zkalibrovat pomocí M503 vyčtení a pak M500 s upravenýma hodnotama.
Nicméně Delta po takovém přepisu potřebuje znovu provést BED leveling i kompletní kalibraci aby opět najížděla tam kam má.
Jak se řeší tedy kalibrace přesnosti u Delta tiskáren ?
Děkuji moc
Ahoj, s Marlinem je tohle komplikovanejsi, nez s Klipperem.
Kazdopadne doporucuji seridit vysku endstopu:
https://marlinfw.org/docs/gcode/G033.html
thank you for this, after letting my linear plus sit for years you step by step got me up and running far better than the (lost) manual could ever do! From south Louisiana thanks again.
brian
hi Lukas, I just upgraded my Marlin to the latest version but when I turn on the printer I get an error: Failed to enable bed leveling.
Can you help me please?
here is my Marlin: https://drive.google.com/file/d/1BDfmH0x2HimMdlUjFfOoqmPT98VJLTc8/view?usp=sharing
Hi, double check my Marlin guide and compare it to values in your configuration.
I think that you have not enabled bed leveling.
Hi Lukas, I gave up on klipper and went back to Marlin (2.072), but kept the upgraded drivers TMC2209 in UART mode, made the driver change in the config files and all axis move fine.
BUT
when I go to delta calibration, auto calibration it starts fine but after about 10 touches it crashes into the X tower, I made a video of it here: https://www.youtube.com/watch?v=FnrUWFzFqVo (config files there too)
It seems the Z axis is out of measure, any hint on what can be wrong?
One thing I did was homing and then manually moved toward the Z0 and when it scratched paper was around Z165.
If you have any suggestion I’ll greatly appreciate it. Thanks in advance
Hi, what is your delta radius value?
That Z height is weird…
Are you sure you have the correct settings for each stepper?
Steps per mm, micro stepping etc.?
its weird, I did the following, configured marlin 2.072 for the tmc2209 standalone to eliminate variables, same problem as described. Took the config files and only changed tmc2209 to tmc2130 also standalone (I have a set) nothing else was changed. it works fine.
here are the config files for tmc2130: https://www.dropbox.com/s/g3ibl8loysho0an/Marlin.rar?dl=0
It is probably a micro stepping issue.
Compare pins on both of the drivers.
The usually have something like M0-M3 pins or something similar.
Microstepping can be adjusted by UART/SPI (depending on the driver) or with these pins.
Voltage = logical 1
No voltage = logical 0
Hi and thanks a giant lot for this!
It really helped me dial in my printer.
I’ve got a couple questions, though:
1. Should I do the Z-offset procedure with heated bed/nozzle or cold?
2. I’m using a feeler gauge (not sure if that’s the correct word, basically strips of metal of certain thicknesses) instead of a piece of paper in order to maximize precision. Following that thought: Should I subtract the 0.1mm of thickness from the z-reading I’m getting in step 2.7.2? Otherwise I would be leveling to Z+0.1, right?
If you have that feeler gauge, I would heat up that printer – bed and nozzle too and do the procedure of calibrating z offset that way.
And yes, you have to recalculate the z offset after that as you say.
One more question regarding the whole procedure because I couldn’t seem to be getting it to work.
Then I stumbled across Marlin’s Troubleshooting pages and they explicitly mention this, so I though I’d share here.
According to Marlin homepage, one should not modify delta height:
https://marlinfw.org/docs/basics/troubleshooting.html#delta-height,-z-probe-offset,-and-g33
I have to admit, I’m pretty confused now. Should I modify tower height AND z-probe offset or not?
The way I read it on the Marlin page, only the probe offset would need to be modified, right?
I have now tried out what I outlined earlier and the Marlin HP was correct:
You should NOT change the Delta height, ONLY the Z-Probe Offset needs to be changed.
Marlin will automatically take the changed Z-Probe offset into account when calculating “real” Z value for executing GCode.
When I did it this way, I was easily able to at least roughly dial in my printer so that it now works.
Not fine tuned, yet, but we’re getting there.
Best regards!
What Marlin version do you use?
Hey Lukas,
for some reason I cannot reply to your comment.
I am using 2.0.7.2.
Best regards!
Thank you!
I have not updated this guide since I switched to Klipper, that might be the problem.
Maybe. According to Marlin HP this behaviour has been around since Marlin 1.1.X.
Excellent guide and firmware. I do have one question though, is Auto Calibration behaving as expected in that it only probes the innermost and outermost part of the bed and always at the same part of the bed each time it completes an iteration – the part of the bed between the outer and middle is not probed whereas the previous firmware I used covered the whole bed? By the way, mine does 3 iterations in case that is relevant.
Hi, thank you for your great work!
However there is one thing concerning me, when I tried using auto leveling, instead of going down, the print head started moving upwards. Is it just me or did you have a similar problem?
Hi, did you change steppers to TMC2208 or wiring?
This is the first time I hear about this problem.
Hi, thx for all this wonderful documentation/guide.
I encounter a similar concern, like that of Wiktor.
When I get to this stage “2.1.5. Confirm leveling after autohome”, the printer head goes up and says: Probing Failed after 15 sec.
I’m using your Marlin vesion : SKR 1.3 and TMC2208 drivers firmware. (2.0.5.3)
I’m using SKR 1.3 with TMC2208 V 3.0 UART
I didn’t have any problems while compiling or installing the firmware
That is weird, did the calibration work well?
Was the probe clicking?
How many points has it measured?
Hello, I found the cause.
I thought I had a version 2 probe but it was actually version 1.
I changed the version, flash the firmware and it works perfectly 🙂
Again, thank you very much for your tutorials. Really nice to read and apply
P.
Hi, thank you!
Positive feedback is the best thing to hear in these times.
Mine does the same! It goes up instead of down.
When I completed step 2.2.7 I did not have a negative number. I ended up with +001.0 as my Z offset. How do I determine step 2.3.2 using a positive number?
Hi!
In a opposite way.
So… instead of adding that measurement I’ll be taking it away… right?
With negative number you top, with positive subtracts
Great site and tutorials!!!
In 2.2.7:
1) Use Move Z 10 mm – move it the closest you can to 002.0 mm, not less!
I think you meant “020.0mm, not less”
Hi, thank you for your comment.
It depends on your laziness… 😀
Sweet job. Thank you and well done. Now I’m more interested in firmware configs.
Hi, thank you!
Hi, thank you for all of your tutorials!
I got my KLP working with the trigorilla thanks to you!
Unfortenately I upgraded to a SKR Board and struggle since. I use G33 (so additional parameters) to Auto Calibrate and then follow this guide. But when I try to start a print with M420 S1 in the start-gcode my printer halts with “could not activate leveling”.
So… do I have to do a single G29 after the G33?
Hi, did you try it without M420 in your start g-code?
Thanks for your reply!
Yes, in this case the leveling is off. E.g. in the middle the heigth is just right and on the z-Tower the nozzle is way to far from the bed = /
I tried a G29 now (+M420 S1 in Startcode) and it seems okay, although not perfect. I was on 2.0.5.2 and now switched to the bugfix branch which maybe also made a small improvement.
Do you use only G33 and no M420?
I have always used only delta calibration – G33 🙁
HI first awesome work! I just purchased my first Delta style printer, a used kossel pulley, but after following your steps it still isn’t printing right. I can print a calibration cube perfect, but when I try and print a larger object, from one side of the print bed to the other, it goes from too close to just right, how do I correct this?? Would a glass bed fix it? should I use the bed leveling option? Thank you!!!!
Hi, thanks.
Have you tried Delta Calibration? Did you chech your rod lenght?
I am struggling with config of Kossel Linear Plus power by BTT SKR1.3 and TMC 2209 in UART. Everything looks somehow working except G33 auto calibration command and I am not able to figure out why it is happening. Look at the attached video.
https://www.youtube.com/watch?v=XSB2MxVS_dY&feature=youtu.be
Any advice what is wrong? I can share config files and log if needed.
That is pretty weird…
I do not use SKR, I would suggest to try to look for a help in a FB SKR group:
https://www.facebook.com/groups/1169081219940646/
I’ve reported it as a BUG because it looks really strange. I’ve tried today to configure Klipper with the exactly same settings like Marlin 2.0.5.3 and the calibration works there. There are of course more drawbacks especially because I am not familiar with Clipper 🙂
Never ever use the newest Marlin 😀
I’ve only had problems that way…
Hi Lukas!
How many iterations should I expect the calibration to do? I’m on 5 and it’s not stopping, wondering what I’m doing wrong… Thanks!
Hi Lukas.
Could you respond to this. i had 7x iterations now and its still not finished
Hi Tobias,
What Marlin FW did you use?
thanks sent you a few ££ to keep up the work
Thank you!
hello Luke, thanks for the excellent calibration guide. now my Kossel finally prints well, some small adjustments and it will be perfect.
Long life and prosperity
You are welcome.
What other guides would you like to see?
Lukas – I will add my voice to those who have expressed appreciation for this guide. It is thoughtfully prepared and made navigating through my Kossel calibration an easy one. You have clearly laid out the steps, and like others, I owe the success of printing with this machine to you! Thanks!!
Thank you for your feedback.
What other guides would you like too see?
Hi Lukas, my plus that came from alza is behaving weirdly, I have been following your instructions and have flashed the marlin that is to be downloaded from your web, but my printer is constantly hitting the lefthand side with the printerhead even before calibration and the Z seems to not work properly. Do you have any advice?
Did you have any similar problems before flashing it?
Hi, great tutorial👍. One question, on 2.3.2 the -1.8 is negative so you add your two numbers together. What if it was +1.8 positive, do you still add the two numbers together?? Thanks for the time spent helping others💖
Thank you!
Did you sort this out?
I would also like to know about adding the numbers together. I ended up with a +1.6
Do I subtract it?
Please help
Exactly.
Thank you very much for the detailed instructions !!!
You are welcome 🙂
Klipper guide will follow.
Thank you so much I’ve bin struggling for over a week nothing was printing to size my bed was reading high low swear it thought it was playing black jack anyway thanks.
No problem…
Just flash a new Marlin and do a PID calibration and delta calibration.