Anycubic Kossel fan upgrade
Why should I do that?
I have been tired of the noise.
After hundrends of printing hours Kossel became very noisy a I couldn’t sleep at the same room so I have choosed new fans with sufficient air flow [CFM] and low noise [dB] and started working on this article.
Power supply fan
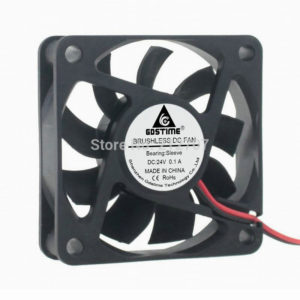
It was difficult to find a good 18V fan so I have decided to buy 24V.
Running 24V fan using only 18V will cause the fan running quiter while the air flow will drop.
Gdstine fans offer higher air flow so it is the way to go.
| Type [-] | Voltage [V] | Current [A] | Noise [dB] | Power [W] | Air Flow [CFM] | Price [USD] |
| Anycubic | 18 | 0.12 | Locomotive | 2.16 (24V!) | N/A | |
| Gdstine | 24 | 0.1 | 32.4 (24V!) | 1.8 (18V!) | 24.8 (24V!) | 5.99 |
Another possible version of the PSU fan!
Please be aware of this.
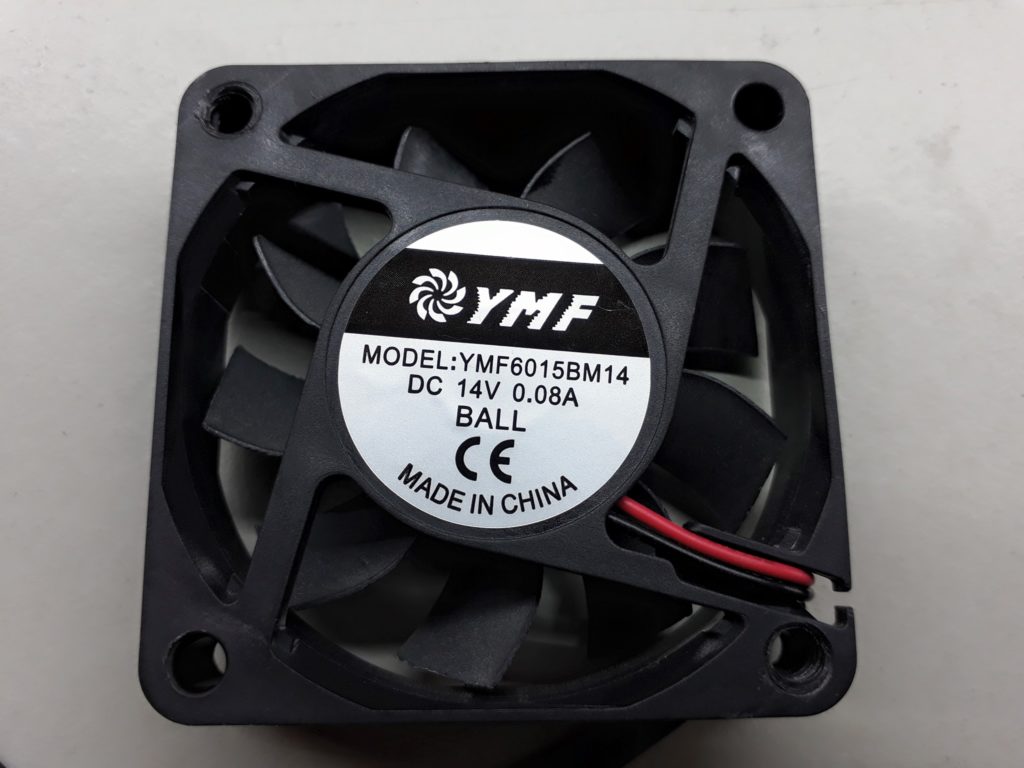
One of the KLP users has found out that his original PSU is using a 14V fan.
Disassemble your PSU and check which type you have before buying a new fan.
Kossel PSU fan disassembly and assembly
The same process amplies to assebly, just in reverse order
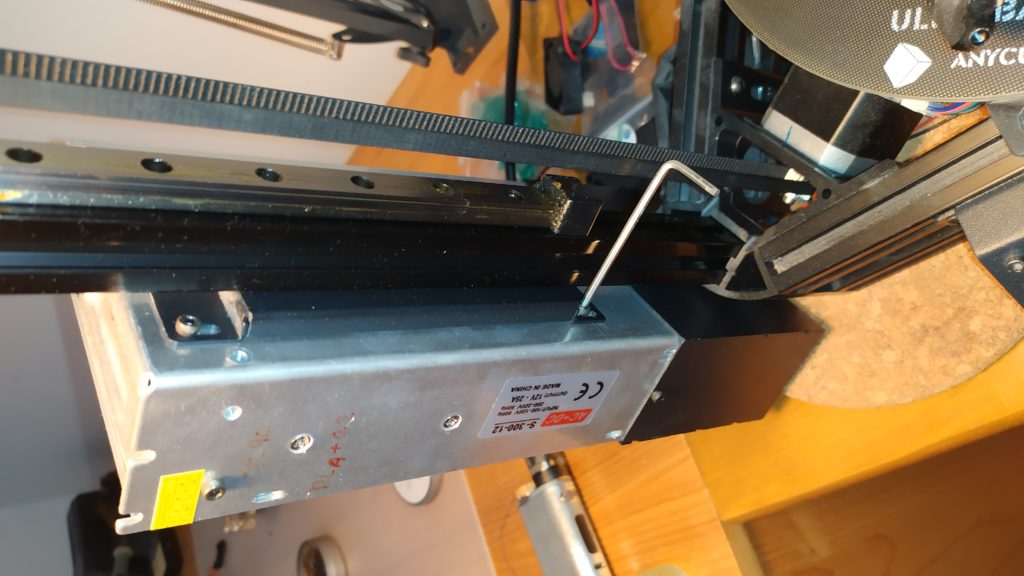
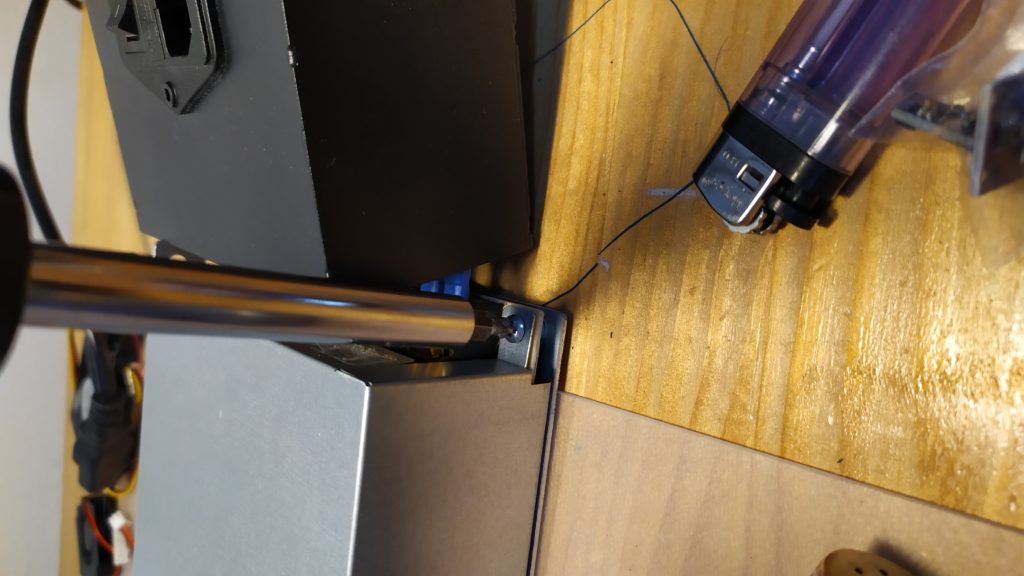
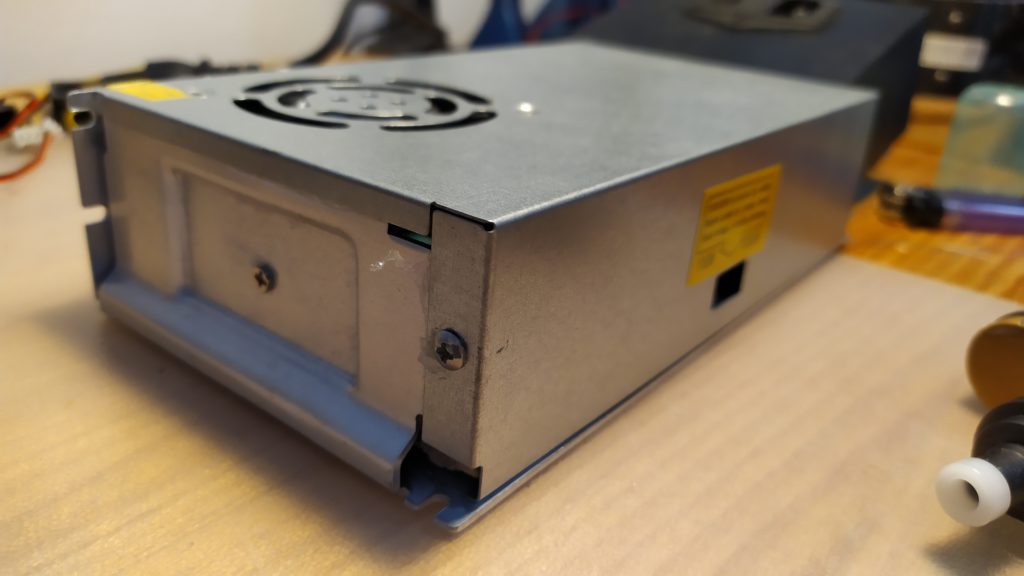
1) Loose two screws holding the power supply on Kossel.
2) Loose two screws holding black plastic part of PSU
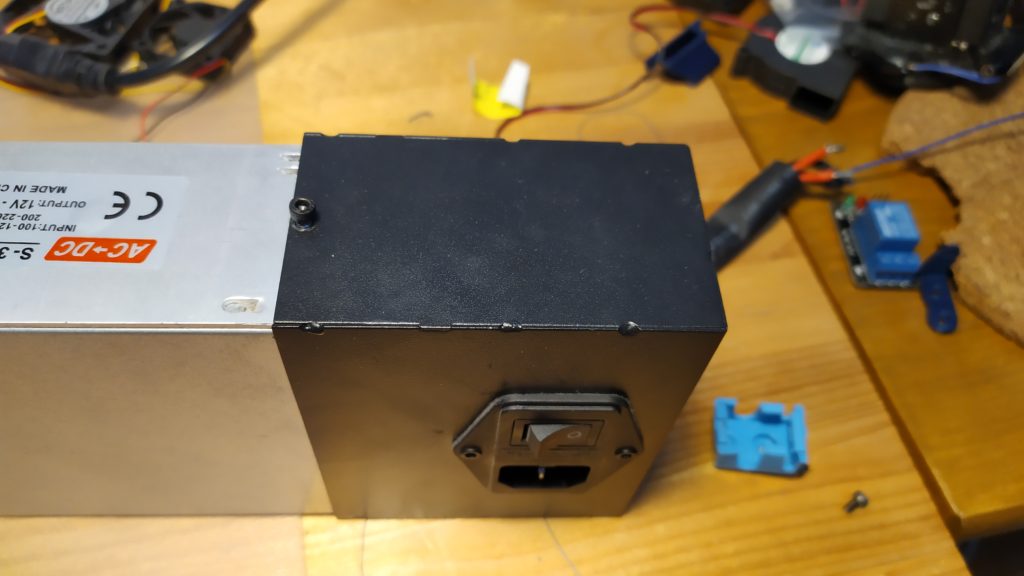
3) Remove the plastic part by pulling it out
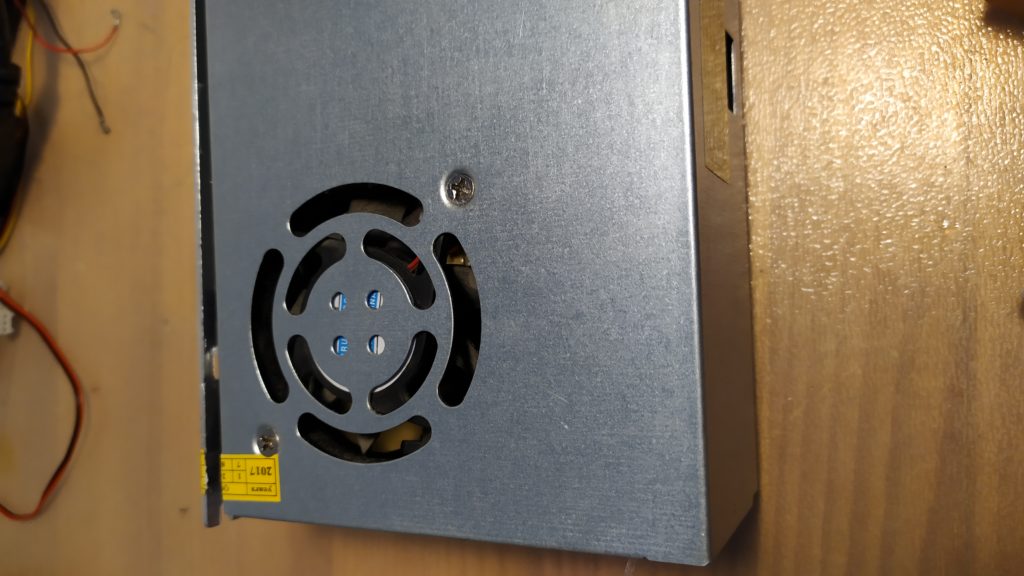
4) Loose screws under that were covered by the plastic past
5) Loose screw on top of the PSU
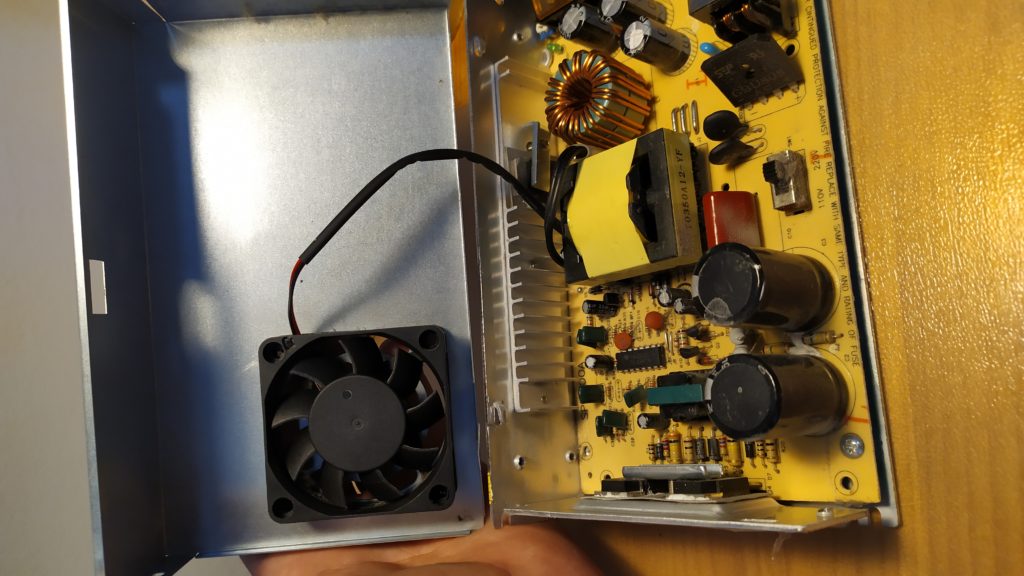
6) Slide the top part of PSU to the left
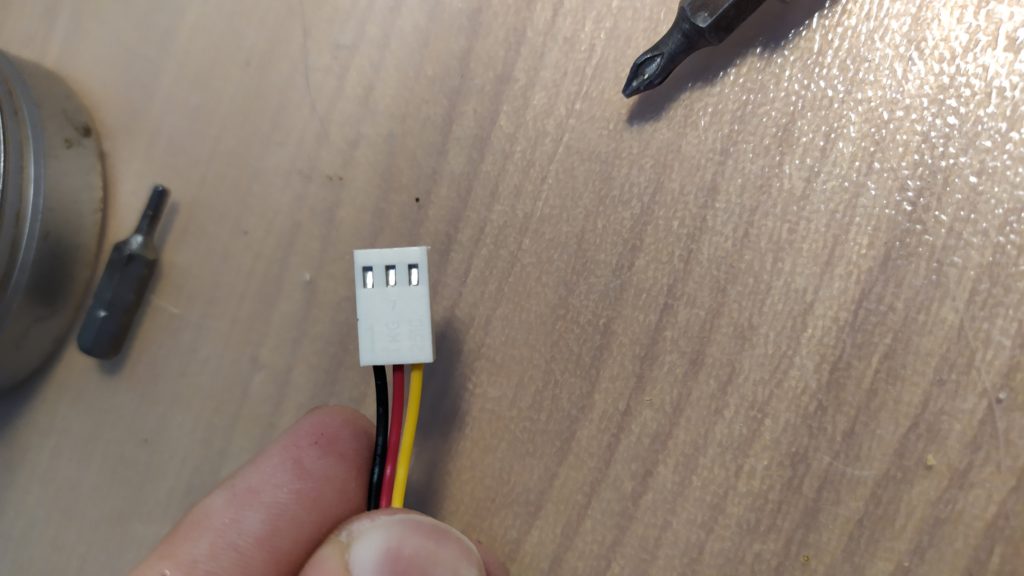
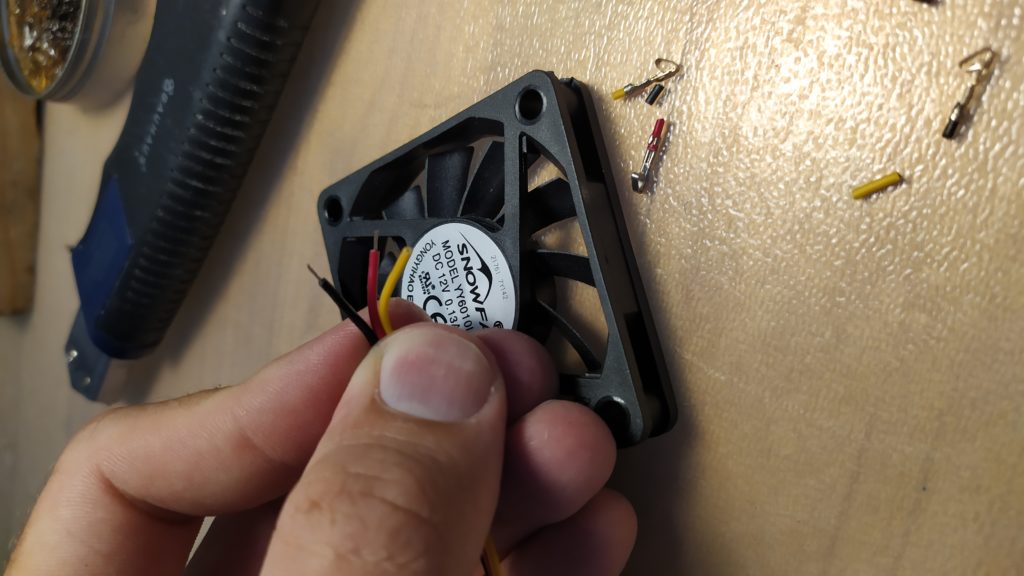
If you have made the same mistake as me at the first try and ordered wrong type of fan – 3pin, these pictures might help you.
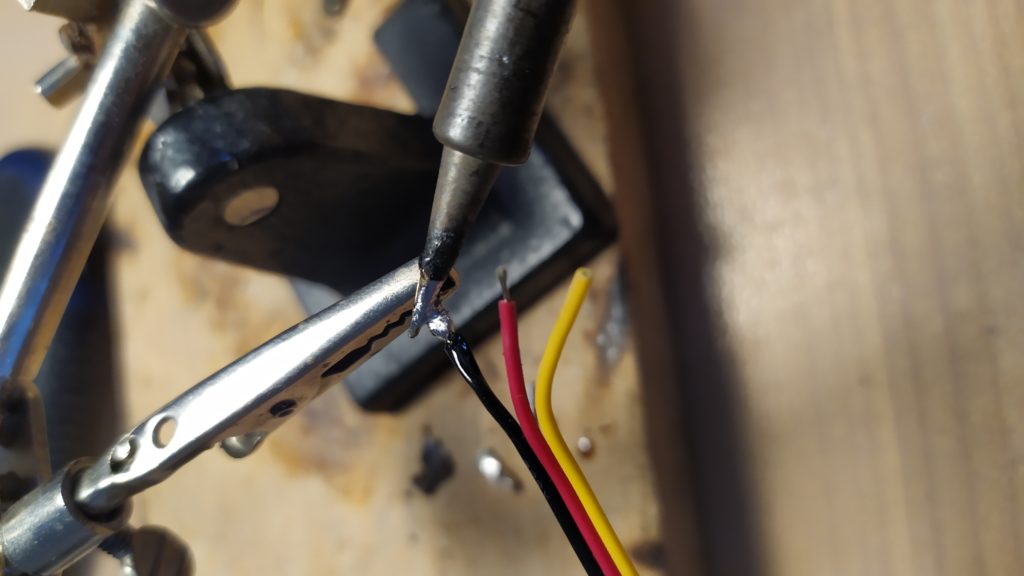
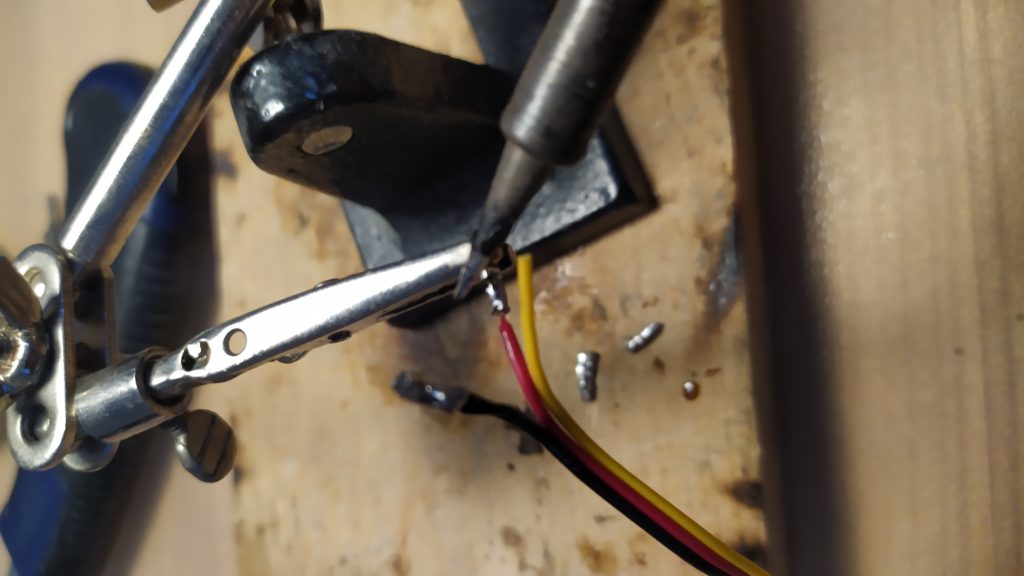
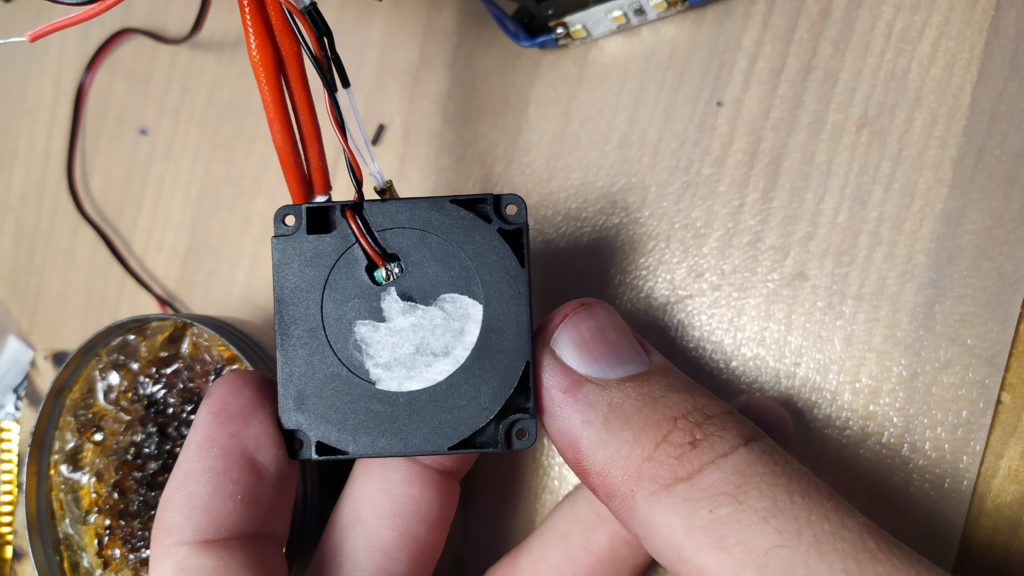
By using a tiny flat screwdriver you can easily push out pins from the original connector and solder them onto new fan cables.
As you can see in the pictures, do not make the same mistake by ordering a fan without knowing that the original one is 18V and not 12V otherwise you will make the PSU even louder.
Kossel hot end fan
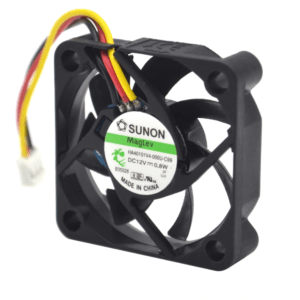
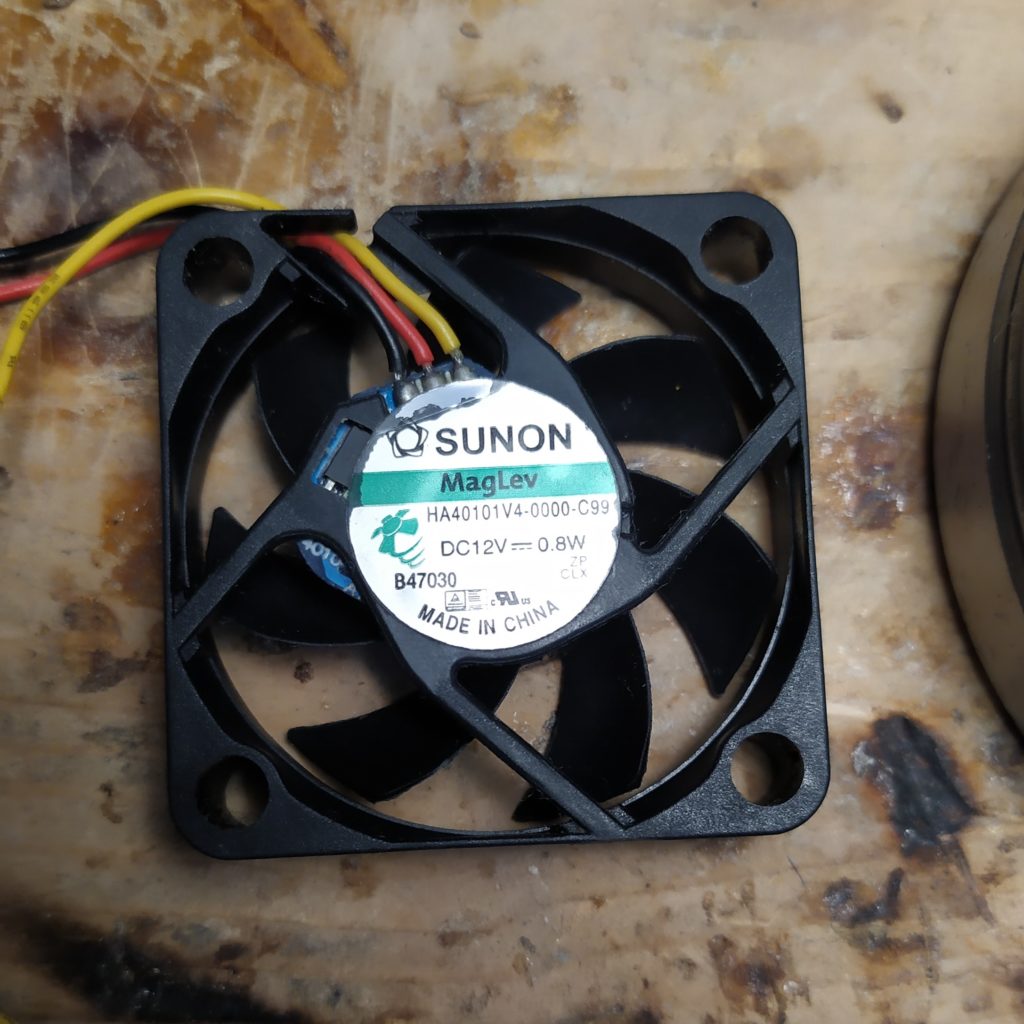
For my Kossel I have choosen Sunon brand, but the best performance / price offers Mellow brand.
In this chart I have decided to add more choices for these reasons:
Mellow type is recommended by BLV MGN Cube community.
Sunon is my favourite brand.
Noctua is used by Prusa.
| Type [-] | Voltage [V] | Current [A] | Noise [dB] | Power [W] | Air Flow [CFM] | Price [USD] |
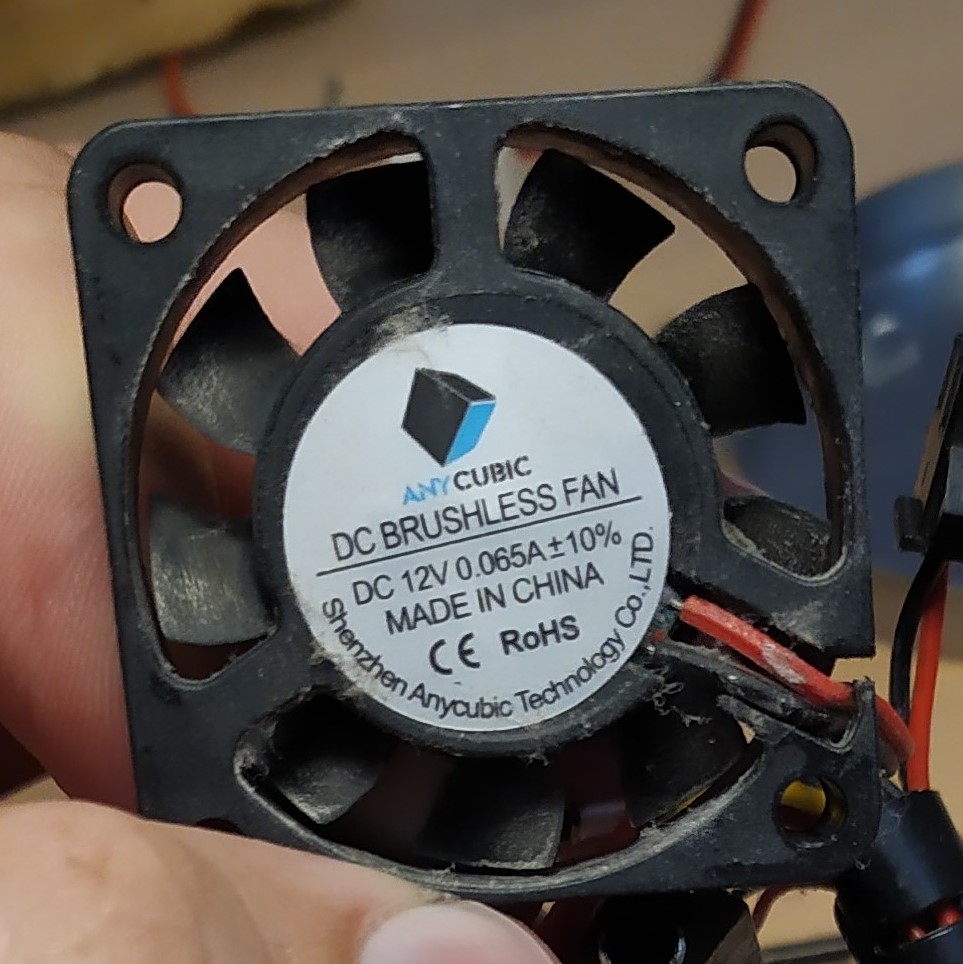
| Anycubic | 12 | 0.065 | F16 | 0,78 | N/A | |
| Sunon | 12 | 0.06 | 18.2 | 0.72 | 5.3 | 3.3 |
| Mellow | 12 | 0.06 | 18 | 0.72 | N/A | 1.2 |
| Noctua | 12 | 0.05 | 17.9 | 0.6 | 4.8 | 13-24 |
Kossel hot end fan disassembly
I highly recommend step one, but it is not necessary
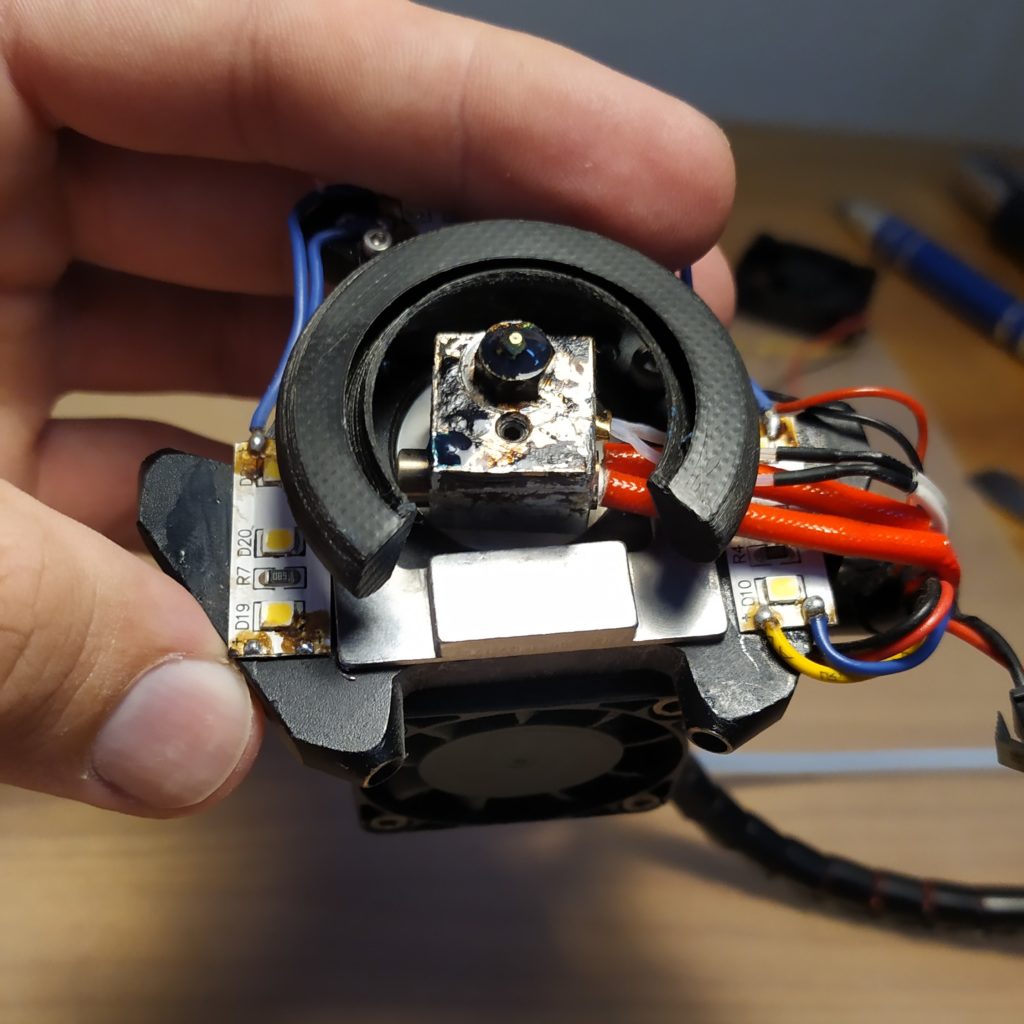
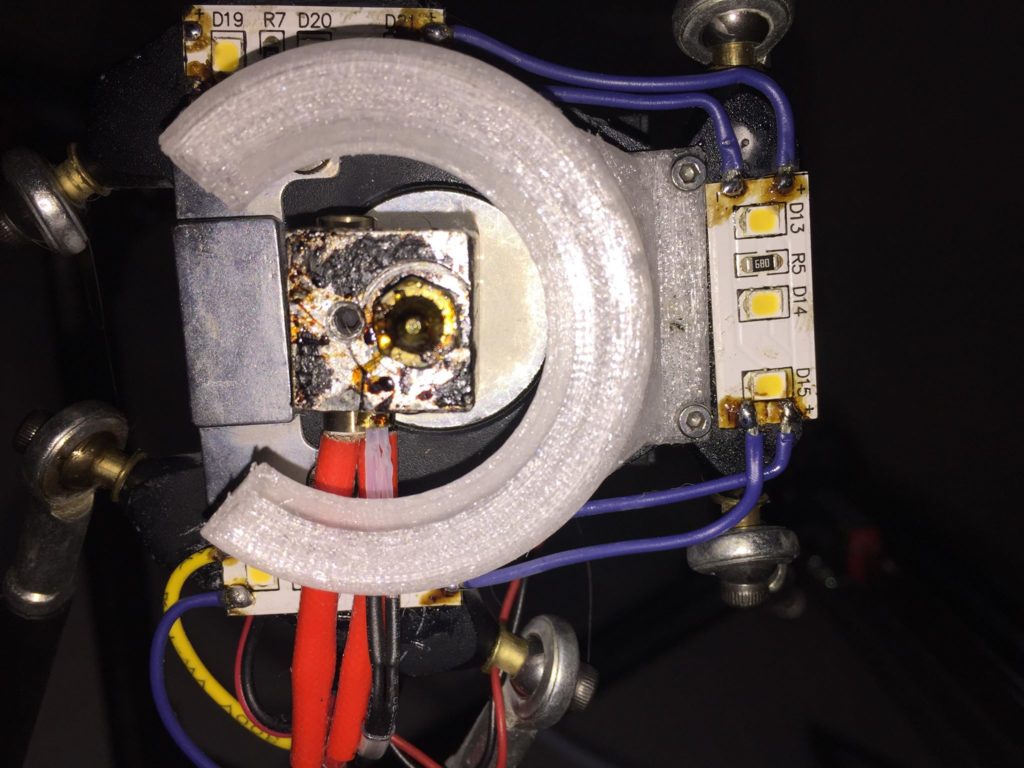
1) Remove printing head – loose all 6 screws holding rods all around the head
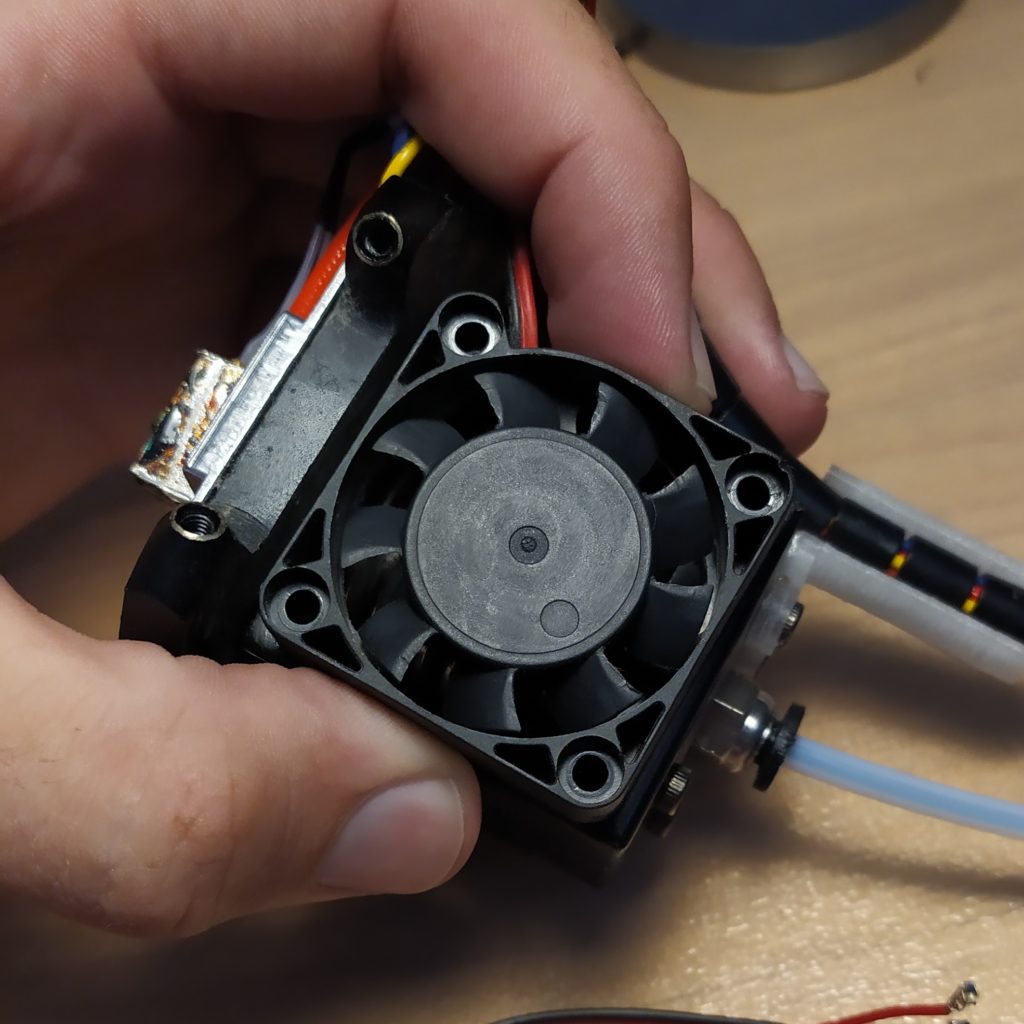
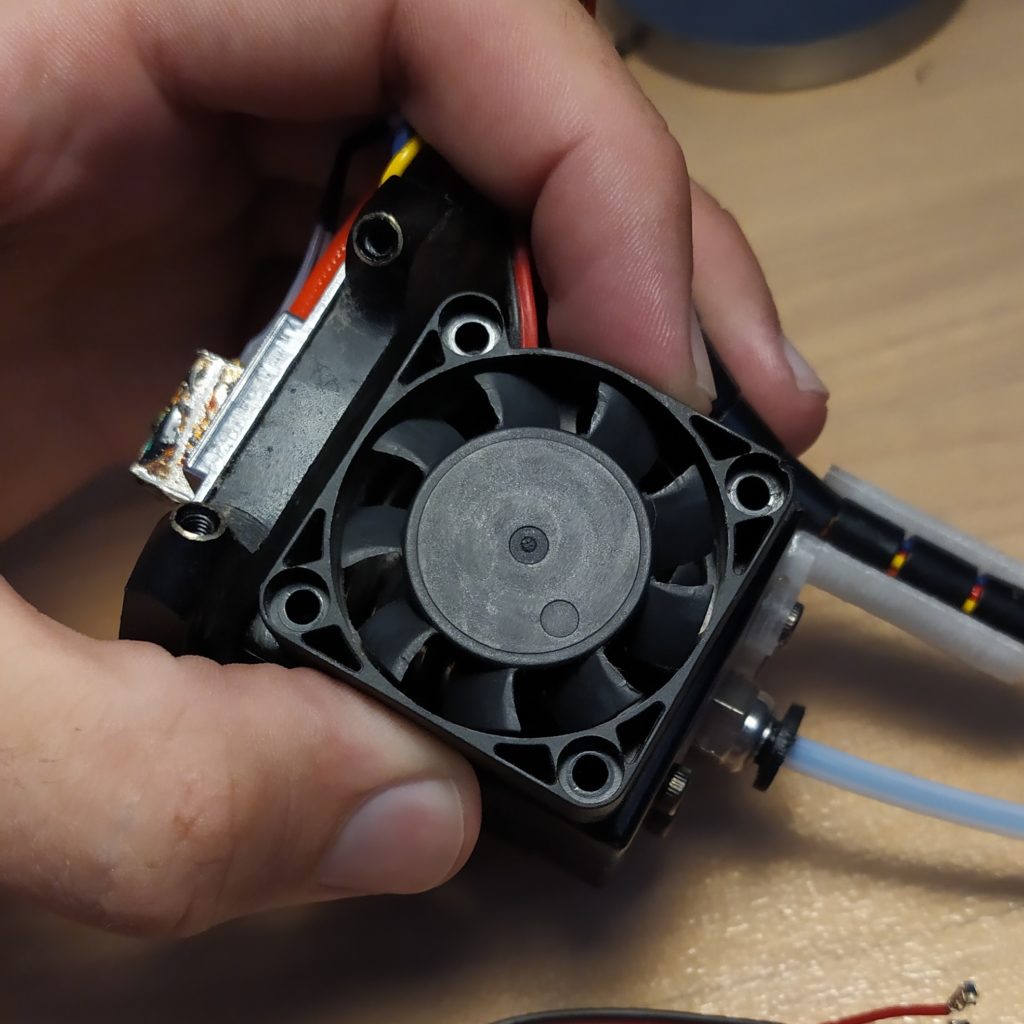
2) Unscrew 4 screws holding the fan
Kossel hot end fan assembly
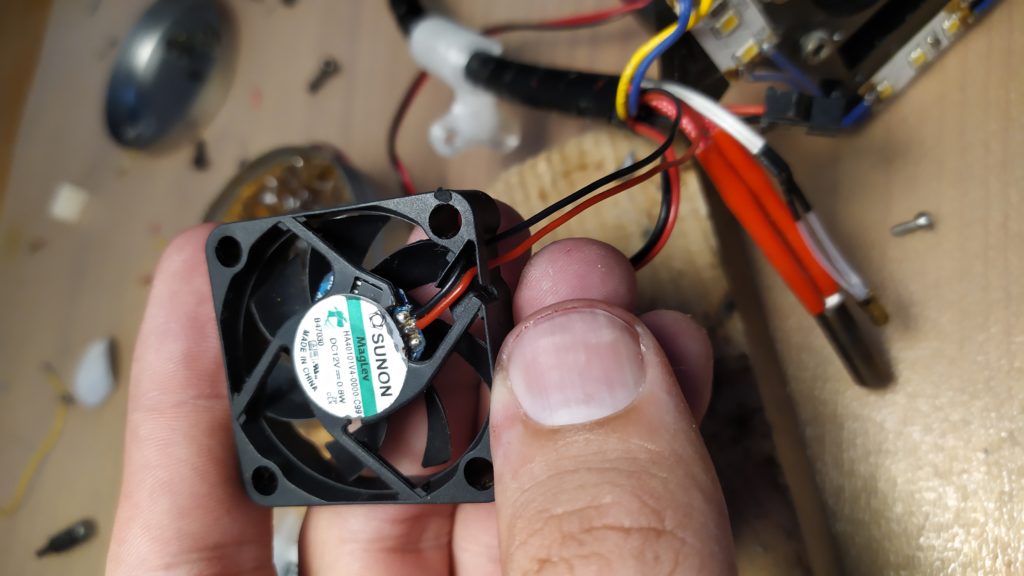
The easiest way is to use original cables and solder dem on a new fan.
You can use heat shring and put them on the screws, they will work as vibration dampeners.
Then use 4 screws and tighten the new fan.
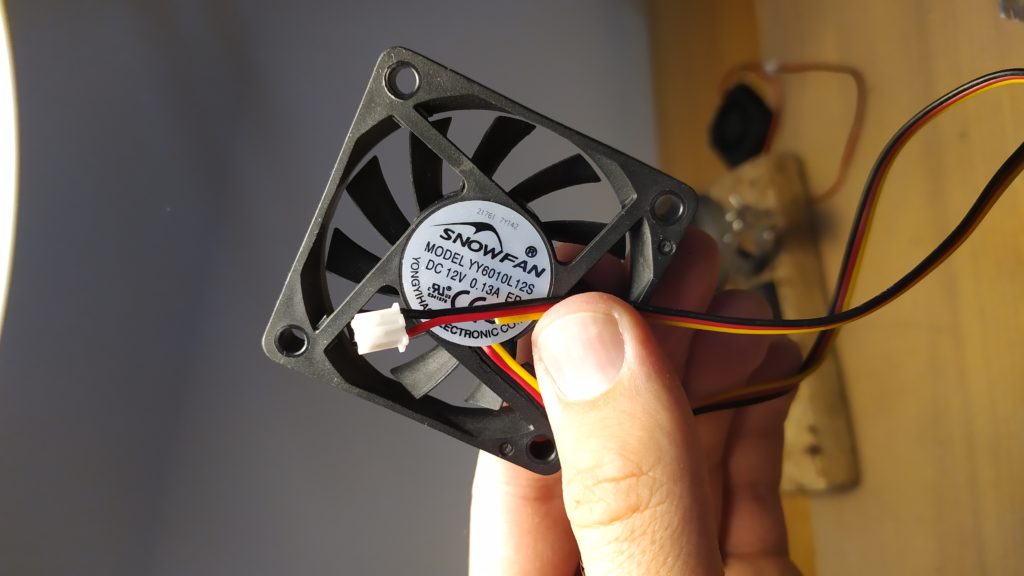
Cooling fan – standard size 4010
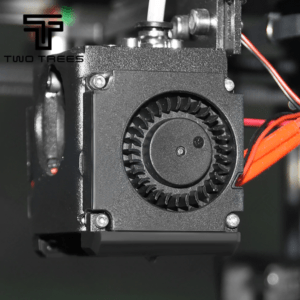
There are two ways how to deal with loud cooling fan.
This part describes changing old fan for a new one with the same size – 40 x 40 x 10 mm.
I have choosen Two trees for my Kossel.
IdeaFormer says in Specs 0.18A, but you can see 0.10A in the picture.
| Type [-] | Voltage [V] | Current [A] | Noise [dB] | Power [W] | Air Flow [CFM] | Price [USD] |
| Anycubic | 12 | 0.08 | Screaming old lady | 0,96 | N/A | |
| Two trees | 12 | 0.06 | 26 | 0.72 | N/A | 1.75 |
| Mellow | 12 | 0.06 | 28/28 | 0.72 | N/A | 4.5 |
| IdeaFormer | 12 | 0.10 (0.18) | 25 | 1.2 | 3.09 | 3.3 |
Cooling fan – 5015 upgrade
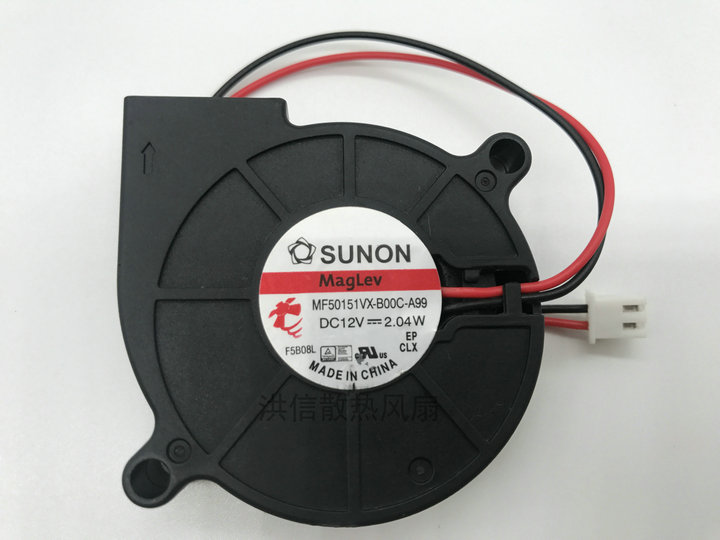
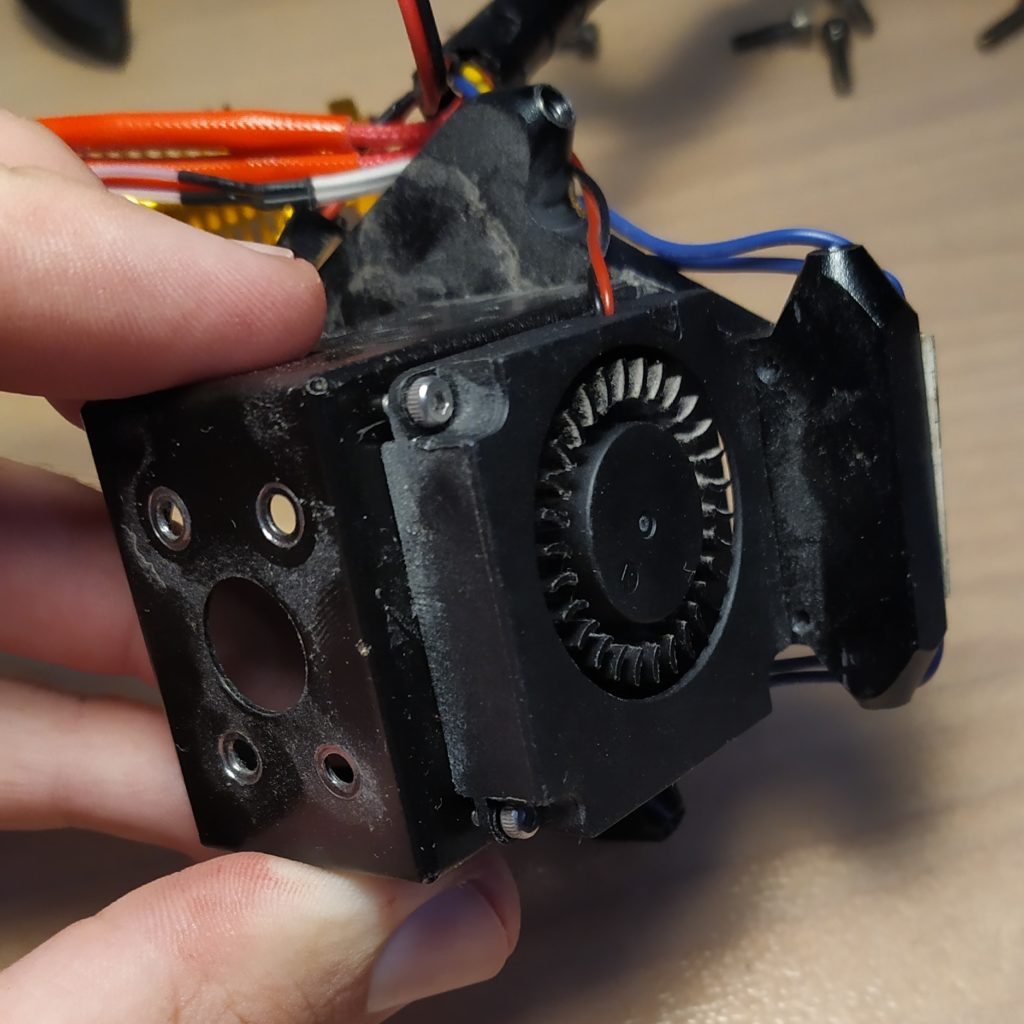
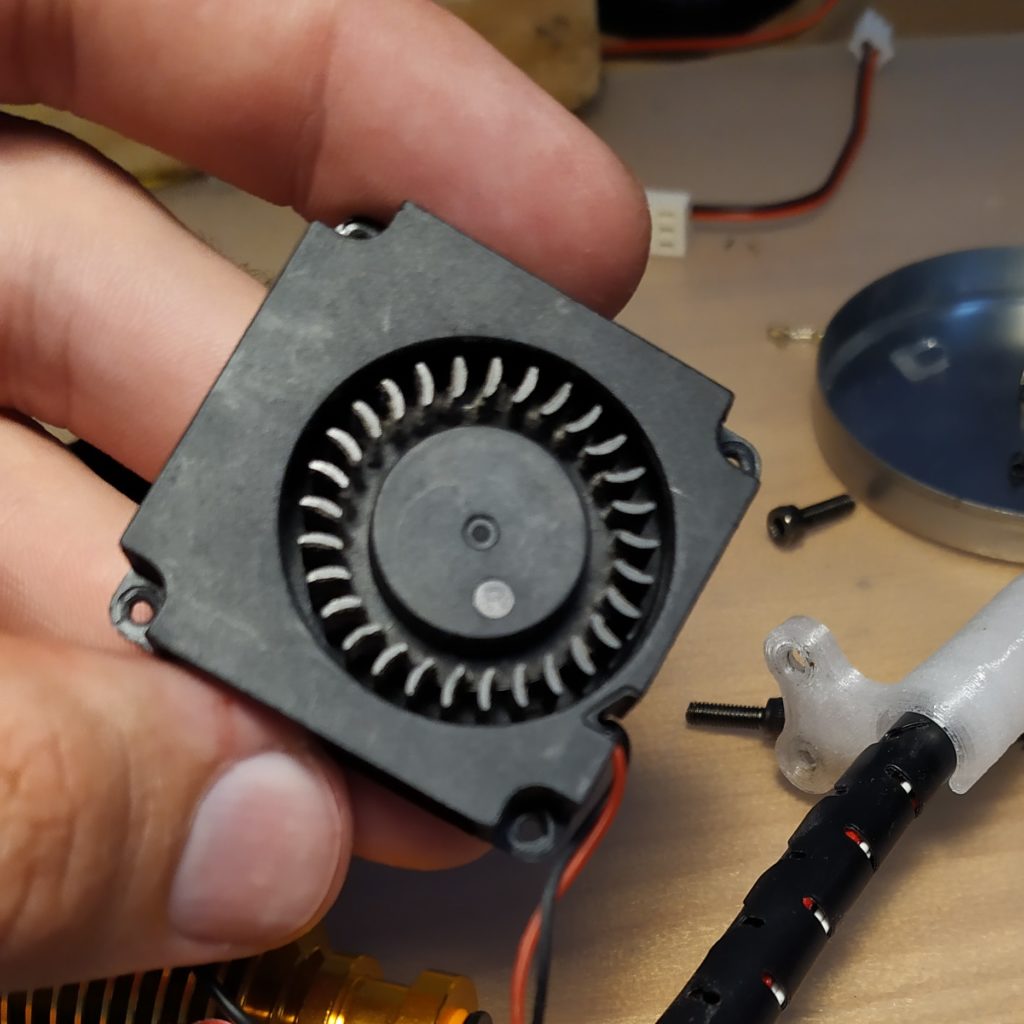
Switching to a single 5015 fan provides better cooling and higher air flow.
You will also need a 5015 adapter. More informations will be provided in a 5015 fan upgrade article.
As you can see in the table below, air flow is not often provided.
If you want to choose by air flow – CFM, I would trust only to Sunon and Gdstine with their informations.
| Type [-] | Voltage [V] | Current [A] | Noise [dB] | Power [W] | Air Flow [CFM] | Price [USD] |
| SUNON | 12 | 0.170 | 42.2 | 2.04 | 5.4 | 4.50 |
| GDSTIME | 12 | 0.2 | 36.7 | 2.4 | 4.43 | 9.87/2 |
| Winsinn | 12 | 0.28 | 28 | 3.4 | 10?? | 6.47 |
| Trianglelab | 12 | 0.23 | 32 | 2.8 | N/A | 7.65 |
| IdeaFormer | 12 | 0.15 | 20 | 1.8 | N/A | 1.07 |
Cooling fan disassembly
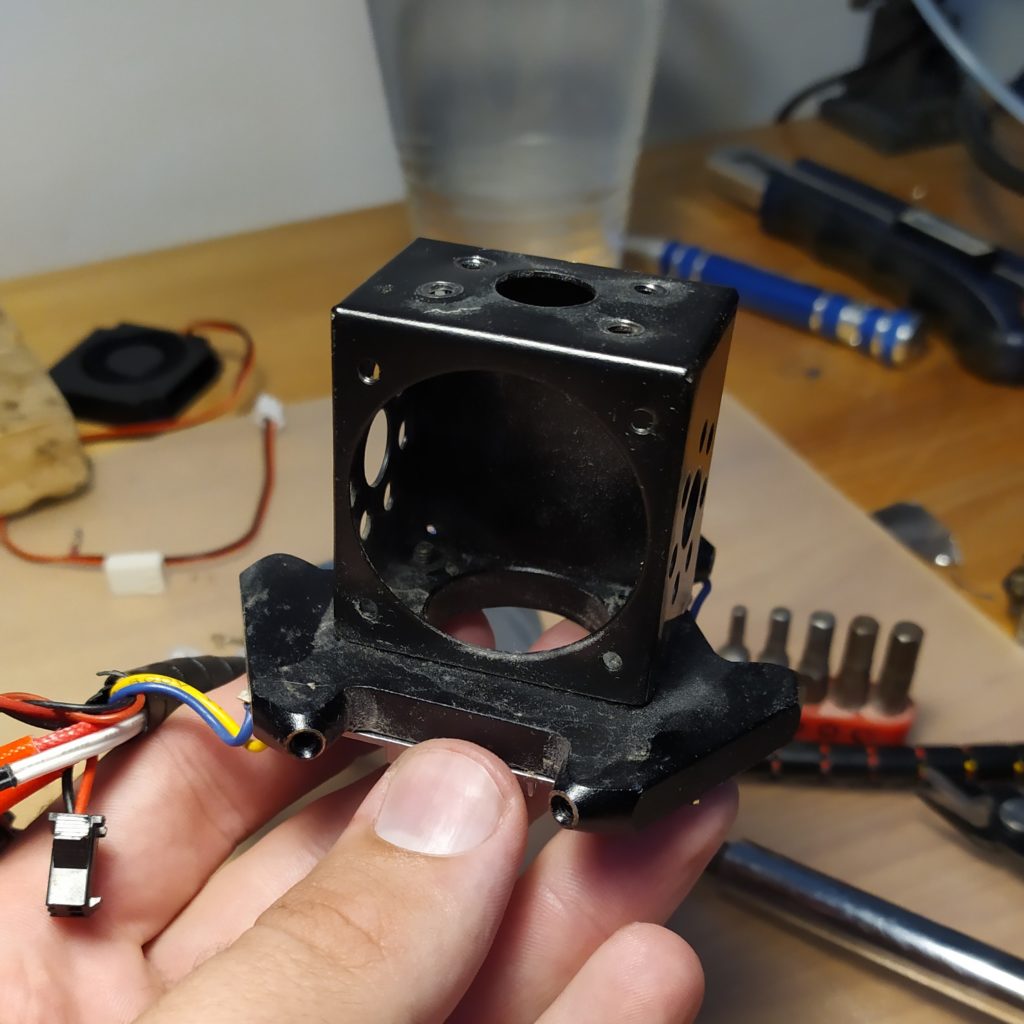
It is much easier to work with the printed head unmounted
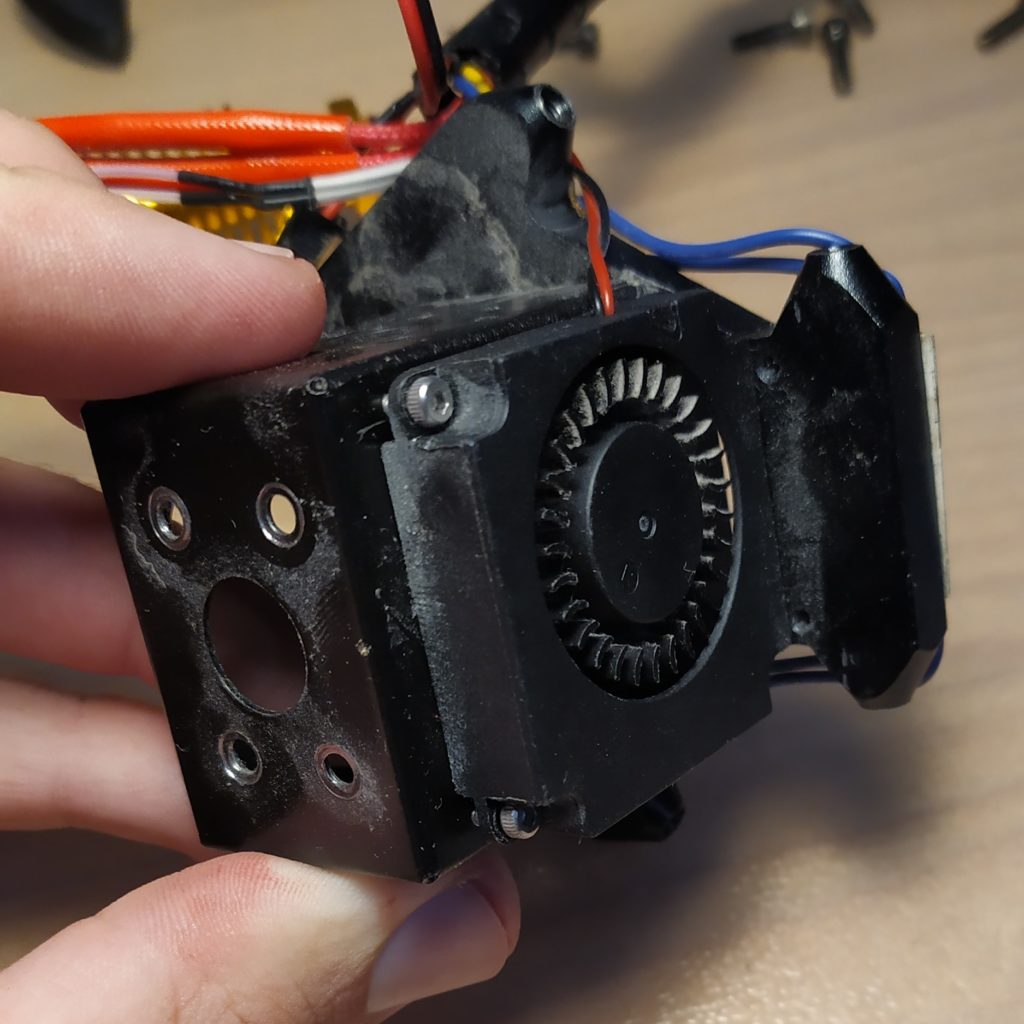
1) Loose 4 screws holding the fan
Cooling duct
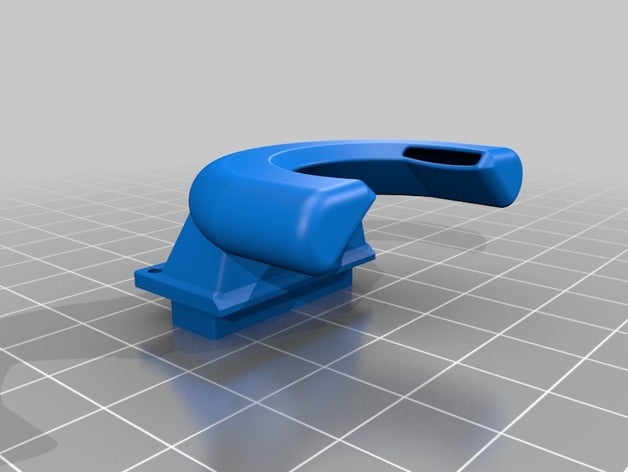
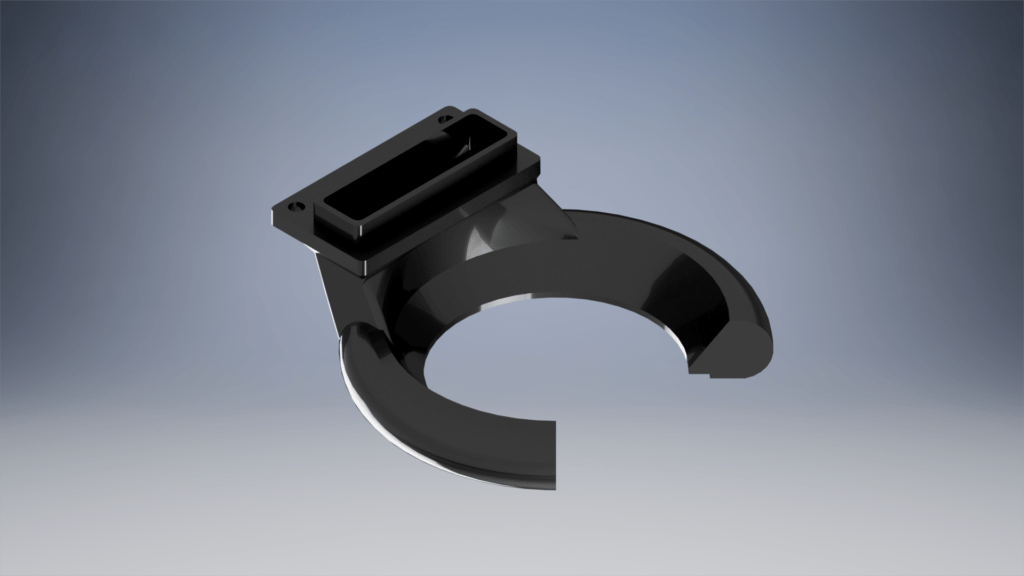
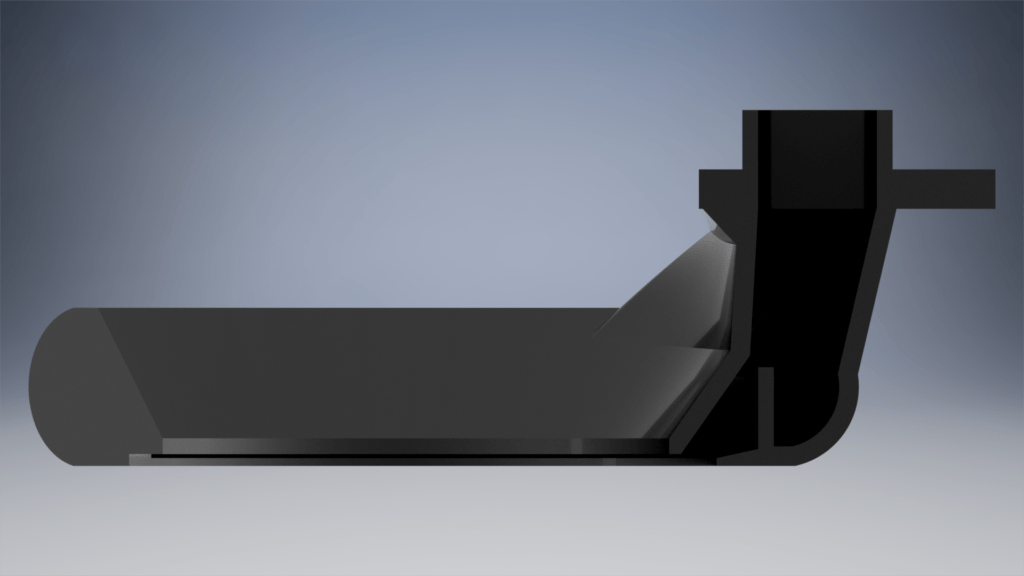
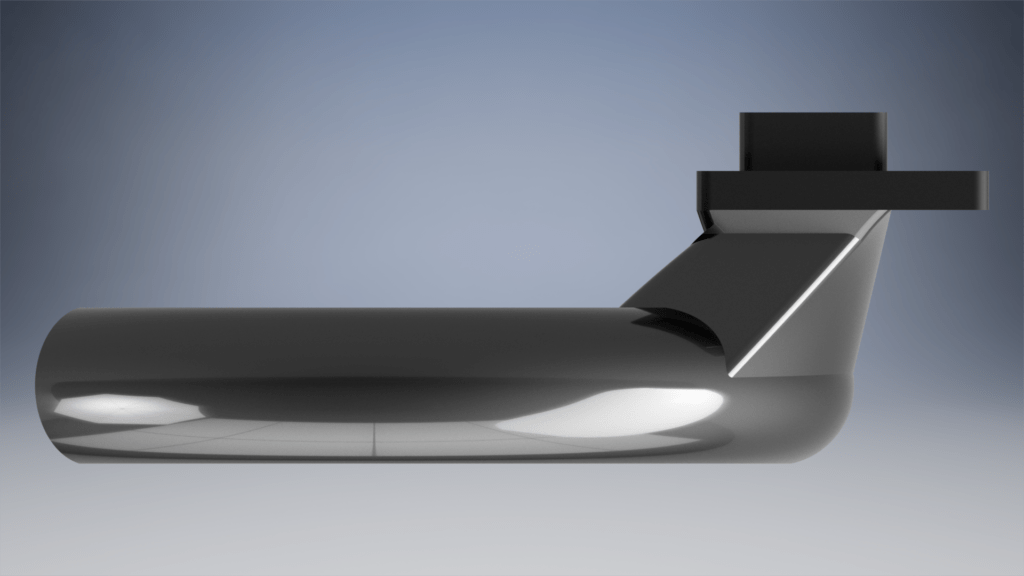
For better cooling, download and print new cooling duct.
I have tried many models from Thingiverse, but most of the 360° versions are actually downgrades.
This cooling duct has been designed for 360° cooling and must be printed with temperature resistant filaments such as: PLA-HD.
Printing this cooling duct with standard PLA causes the duct to twist due to the heat while nozzle is heating and no air is coming through the duct.
And the best part – you can still use Autocalibration with the original probe.
This cooling duct is designed for standard filaments.
You can print it with PETG/PLA.
Cooling fan assembly
It is much easier to work with the printed head unmounted
1) Remove the sticker from both fans
2) Unsolder cables from old fan and solder them on the new one
3) Glue sticker on the new fan
4) Mount the fan with 4 original screws



Should the fan for the PSU blow into the PSU or out of it?
Thanks for this awesome discription!!!:P
My PSU cooling fan says 12V on it, can I still use your original suggestion? (Gdstine fan)
Hi, just choose the 12V version.
I upgraded to the Sunon 5015 red maglev (not sure what’s the difference between red and green maglev).. Great cooling, but it seems to only run at 12v (or 100% speed), or nothing… The fan stutters and vibrates at 50% setting and doesn’t spin…
Maybe the Gdstime one would be able to run with a variable speed, the specs show 7v-13v…
Hi, most of the fans need at lest 40-50% to turn on.
The bigger/more powerful fan the bigger current or RMS Voltage is needed to spin it.
Try to set it to 100% and lower it to 50-60%.
But why do you want to use smaller %?
Standard procedure for fast printing is cooling at 100% and 0% for ABS and similar materials.
How are you finding all of your fan choices? Are they still working well and blowing to what you would expect?
They are awesome!
Just two things:
I have switched to a 5015 fan for cooling parts
Original PSU will be replaced with a standard PC one (300W, 12V for Kossel, 5V for Raspberry)
have you already replaced the psu?? I want to do the same beacuse i have some old ATX psu laying around. Do i need to combine the two 12v rails?? That would be in my case 5 yellow and 5 black cables from the atx psu?? or do i need just 0ne rail?? beacuse one rail is just 17A so i think i need to combine them right??
Hi,
I have it prepared, so soon.
I will use both of them – Trigorilla has two power in ports.
Plus PSU 5V output for Raspberry.
OK thanx i will wait for it. I have a SKR 1.3 with only 1 port so do you think i have to combine all of the 5 wires to 1 big wire and connect it to the one port??
I usually use only 2 of them.
Those cables will be cca 20cm long, so there should not be any problem.
You can calculate voltage drop with a formula.